

先日、原付二種スクーターのアドレス125(DT11A)のファイナルギヤオイルを交換しました。
前回のスパークプラグ同様、走行距離約45000kmにして初の交換となります。
ご自身で交換する際のご参考になれば幸いです。

小石健と申します。YouTubeチャンネルはこちら。
スクーター専用ギヤオイルを購入
今回の内容はYouTubeに動画もアップしているので、よければこちらもご覧ください。
スズキのメンテナンスノートによると、トランスミッションオイル(ギヤオイル)の交換時期は10000kmまたは3年ごとだそうです。
私はそのいずれも超えているため今回の交換となります。
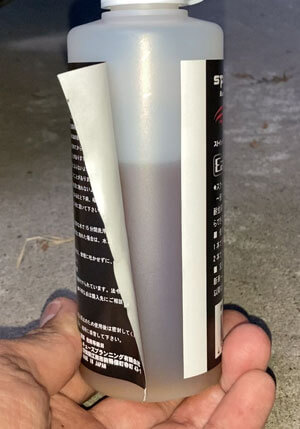
購入したギヤオイルはこちら。

名前のとおりスクーター専用ということで迷うことはありませんでした。
粘度も「10W-40」とスズキの純正オイルに適合しています。
また150mlと、一度の交換で使い切りやすい容量です。
オイルが皮膚に触れないよう、手袋をするのをおすすめします。
2つのプラグを取り外す
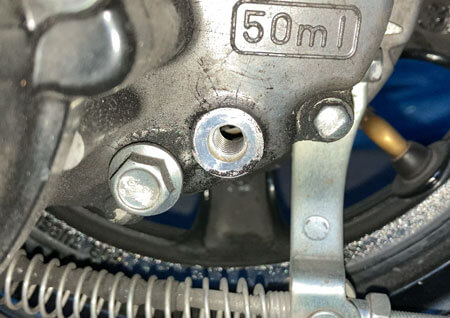
まず平地にセンタースタンドで車両を立て、ギヤボックス周辺にオイル漏れがないか確認します。
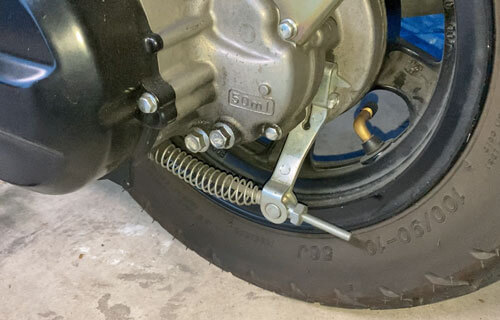
異常がなければギヤオイルレベルプラグ(右)を外します。
サイズは12mmで、私はソケットレンチを使いました。

ガスケットワッシャは左右2つとも再使用不可です。
なので、ここではプラグだけ掃除します。

そして、レベル穴の下端までギヤオイルがあるか点検します。
しかし、懐中電灯で照らしても中がよく見えません。
といっても、今回はそっくり交換します。
次に廃油受けをギヤボックスの下に置き、ギヤオイルドレンプラグ(左)を外します。
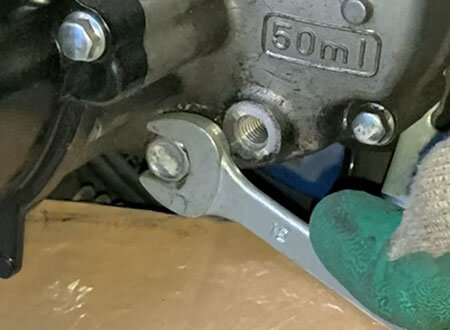
これもサイズは12mmですが、私のレンチだとクラッチカバーにつっかえてしまうので、スパナを使いました。
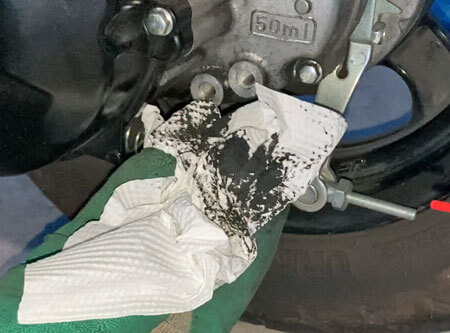
プラグを外すとギヤオイルがすぐに出てきます。
さすがに黒く汚れています。
その間にギヤオイルレドレンプラグも掃除しておきます。
古いギヤオイルを流す
車両を傾けギヤオイルを流し切ります。
しかし、このドレンプラグの穴からも中がよく見えず、オイルの残量が分かりません。
なので、新しいオイルを注入して古いオイルを押し流すことにしました。
アドレス125のギヤオイル量は交換時で50mlです。
私が購入したオイルは前述のように150mlなので、半分も残せば事足りるはず。
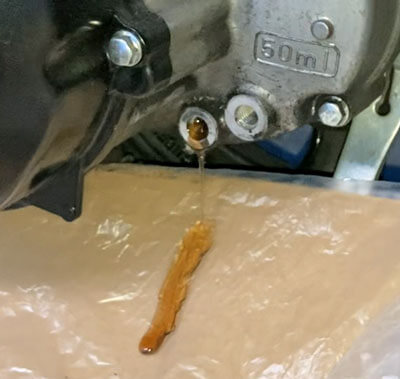
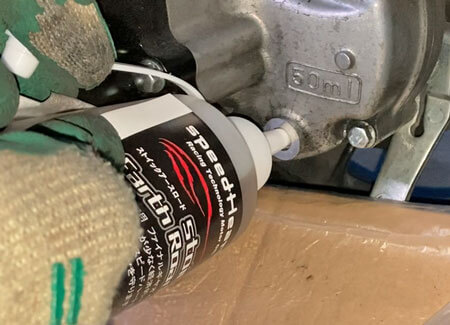
ということで、ギヤオイルレベルプラグの穴(右)からオイルを注入します。
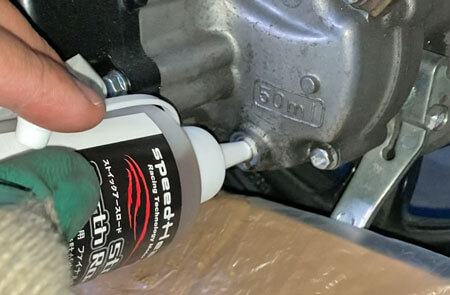
少しするとギヤオイルドレンプラグの穴(左)からオイルが押し出されるように流れます。
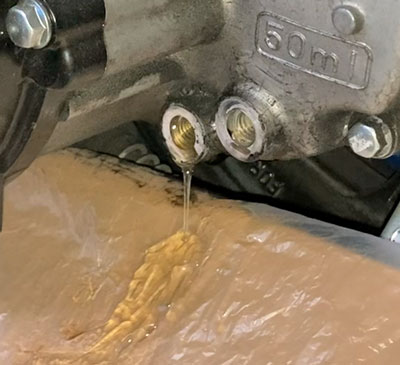
このオイルがきれいな色になるまで続けました。
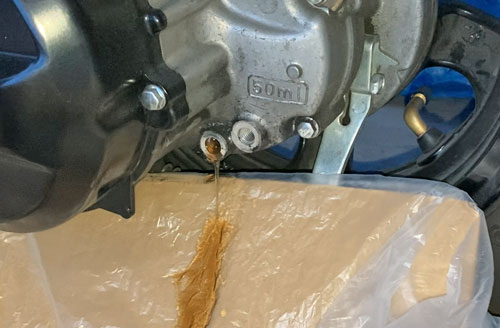
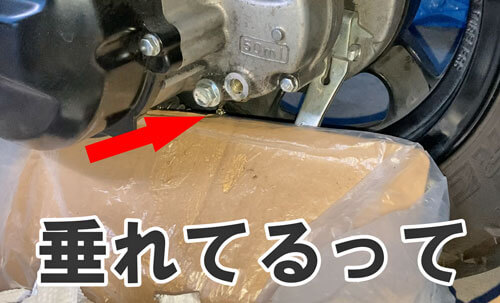
ちなみに廃油受けを置いていたものの、オイルが地面に垂れてしまいました。
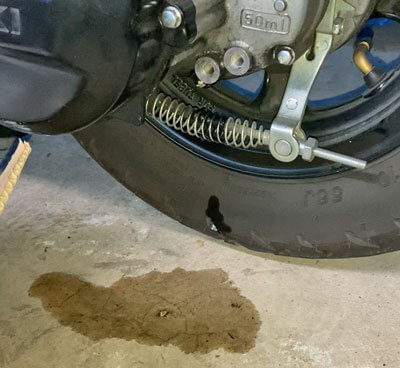
どうもオイルがドレンプラグの穴から後ろのギヤボックスの端を伝わり、廃油受けから外れたようです。
垂れたオイルとともに穴周辺を拭くと、めちゃくちゃ汚い。
とにかく、これで古いオイルは抜けたはず。
ドレンプラグを取り付ける
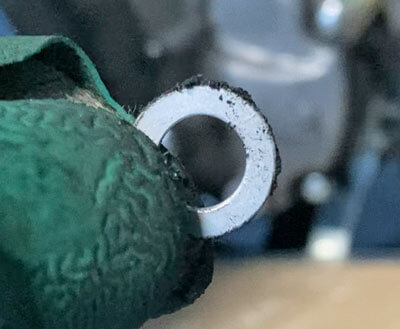
次に新しいガスケットワッシャを用います。
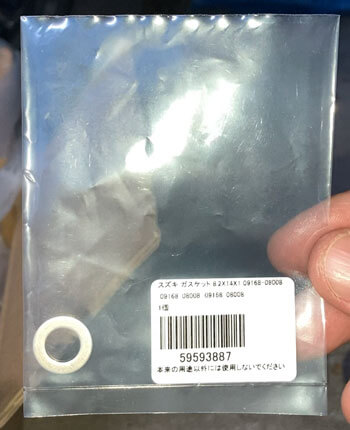
どちらのプラグのワッシャも品番は「09168-08008」です。
私はモノタロウで購入しました。
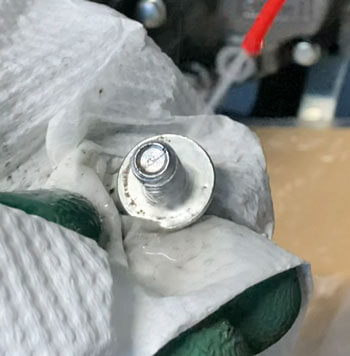
これをプラグに装着。
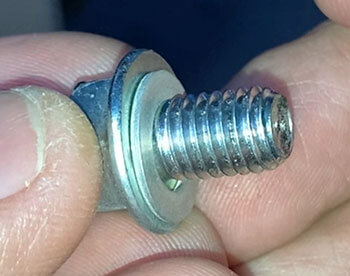
2つのプラグも同じ品番「01550-0812A」なので、どちらを使っても構わないようです。
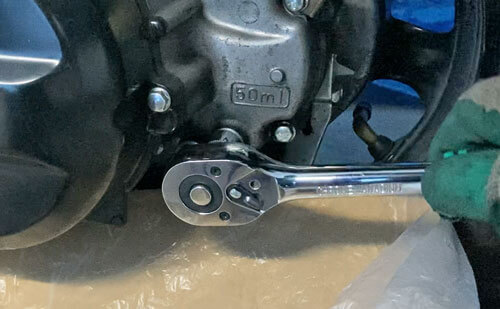
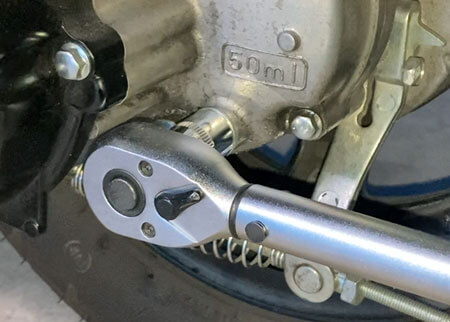
これをまず左の穴に取り付けます。
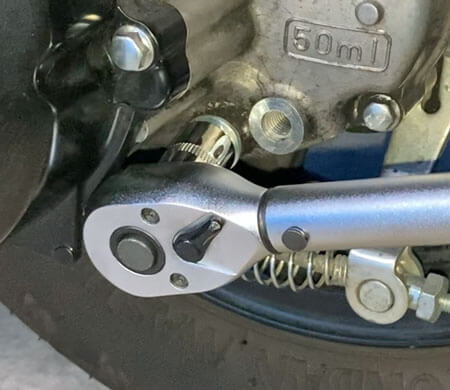
トルクレンチを使い、12N・mで締めます。

これもさきほどのソケットレンチと同様、少し頭がつっかえますが、斜めになりながらもなんとか締め付けることができました。
たぶん大丈夫…
新しいギヤオイルを補充する
そして、さきほど半分くらい使ったギヤオイルを右の穴から注入します。
レベル穴の下端まで補充するそうですが、前述のように見えないため、あふれるまで注ぎます。
が、入れすぎたせいかまた地面に垂らしてしまいました。
車体を傾けオイルを少し抜きました。
オイルがあふれなくなったのを確認して穴周辺を拭いたら、同様に新しいワッシャをプラグに装着。
右の穴にプラグを取り付け、ここも12N・mで締めます。
最後にパーツクリーナーでギヤボックス周辺を掃除しました。
交換後の変化は特に感じない

以上で作業は完了です。
私が鈍感すぎるのか、ギヤオイル交換後の変化は特に感じません。
今のところオイル漏れもせず、問題なく走行することができています。
無事交換できたようです。
今後、何か変化があればお伝えしたいと思います。
コメント