

私は申請したマイナポイント2万円分のうち5000ポイントはPayPayにチャージして受け取りました。
今回は、PayPayにPayPay銀行の口座を登録してチャージ、そしてポイントを使用するまでの手順を解説します。

小石健と申します。YouTubeチャンネルはこちら。
マイナポイント2万円分を受け取る流れ
まず、初めての人がマイナポイント2万円分を受け取るには、以下の3つを行う必要があります。
- チャージ・決済で25%還元の申し込み(5000pt)
- マイナンバーカードの健康保険証としての利用申し込み(7500pt)
- 公金受取口座の登録(7500pt)
私はPayPayアプリから申し込みました。
5000ポイントは、PayPayにチャージまたはPayPayで決済するとその金額の25%分というかたちで付与されます。
私はすぐにポイントが付与されるチャージを選択しました(決済では翌日から30日後の付与)。
PayPayに登録したPayPay銀行の口座から現金をチャージするという流れです。
2万円のチャージで5000ポイントとなります。
マイナポイント申し込みに必要な物
今回の手順では以下のものを使用します。
- マイナンバーカード
- マイナンバーカードの3つの暗証番号
- 利用者証明用電子証明書暗証番号
- 署名用電子証明書暗証番号
- 券面事項入力補助用暗証番号
- マイナポイントアプリとマイナポータルアプリ
- マイナンバーカードの読み取りとアプリに対応したスマホ
- PayPayアプリ
- PayPay銀行の口座
アプリに対応したスマホについては以下のページをご参照ください。
総務省「マイナポイントアプリ対応スマートフォン一覧」
マイナポータル「マイナポータルアプリに対応しているスマートフォン等を教えてください。」
マイナポイント2万円分の申し込み方法
マイナポイントの申し込みはいたって簡単。
手順は多いものの、こちらの動画のとおりに進めればつまずくことはないはずです。
マイナポイントアプリとマイナポータルアプリの2つはあらかじめインストールしておきます。
また、PayPayとPayPay銀行はすでに利用しているものとして解説しています。
これなら外出して役所やATMで手続きする必要はありません。
詳細は動画にゆずりますが、流れとしては以下のとおりです。
- PayPayから申し込む
- PayPayで本人確認をする
- 公金受取口座を登録する
- PayPayに銀行口座(PayPa銀行)を登録する
- PayPay銀行の口座からチャージして5000pt受け取る
- 残り15000ptの受け取りを確認する
- PayPayでポイントを使う
以下では、マイナポイントの受け取り以外でも役立つPayPayのチャージの方法をお伝えします。
PayPayで本人確認をする
PayPayに銀行口座を登録するには、本人確認をする必要があります。
まずPayPayアプリを開きます。
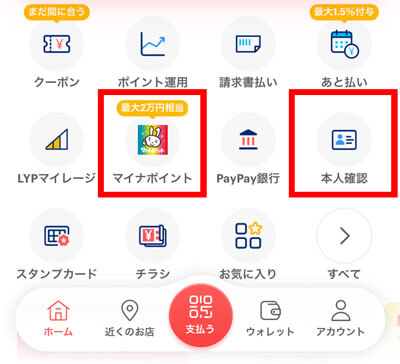
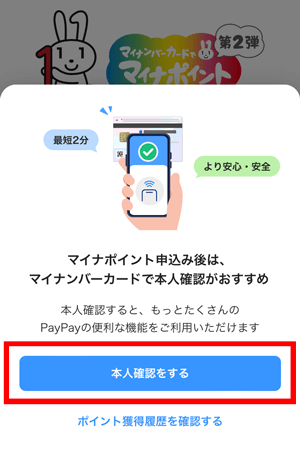
マイナポイント申し込み後、ホーム画面の「マイナポイント」をタップすると本人確認の画面が表示されます。
「本人確認をする」をタップします。
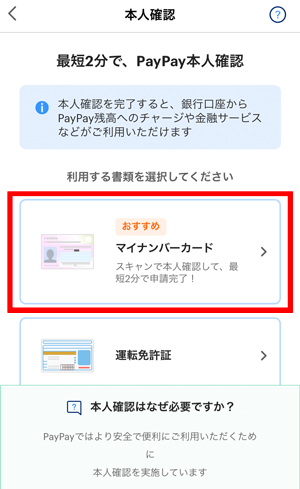
運転免許証でも可能ですが、ここではマイナンバーカードをタップします。
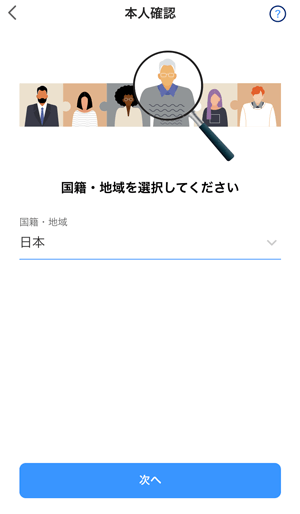
国籍を選択して「次へ」をタップします。
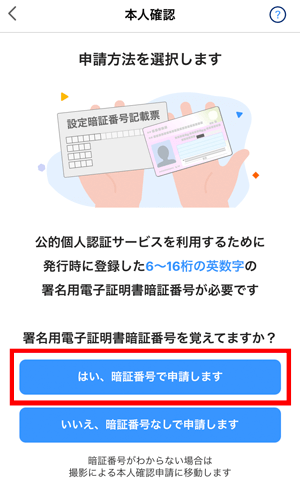
ここでは署名用電子証明書暗証番号を利用するため、「はい、暗証番号で申請します」をタップします。
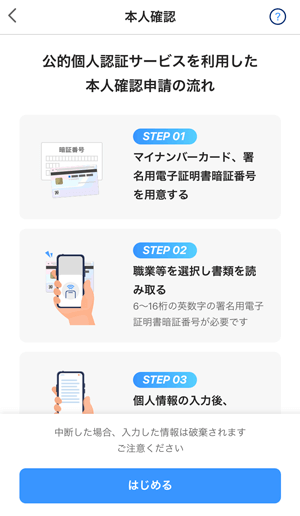
「はじめる」をタップします。
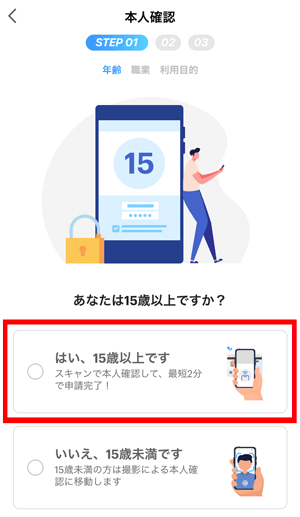
「はい、15歳以上です」を選択します。
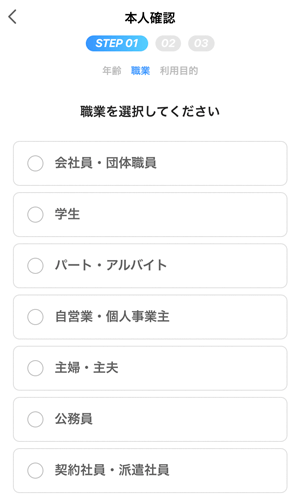
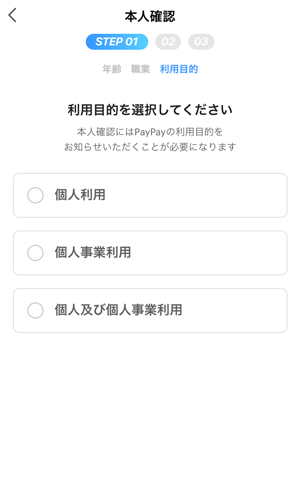
職業と利用目的を選択します。
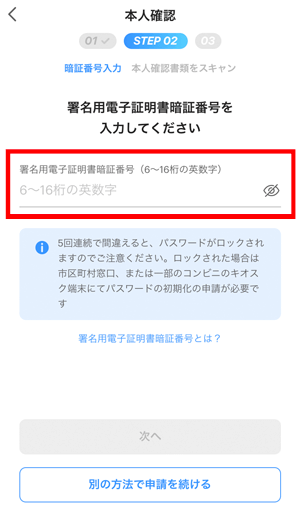
署名用電子証明書暗証番号を入力して「次へ」をタップします。
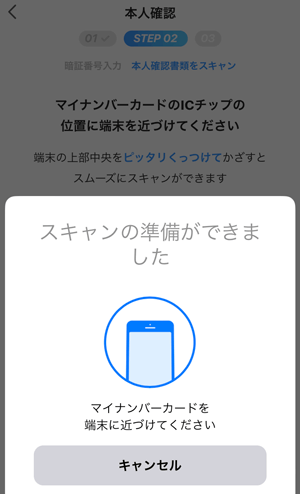
下の画面のままスマホをかざしてマイナンバーカードを読み取ります。
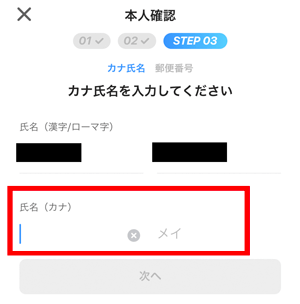
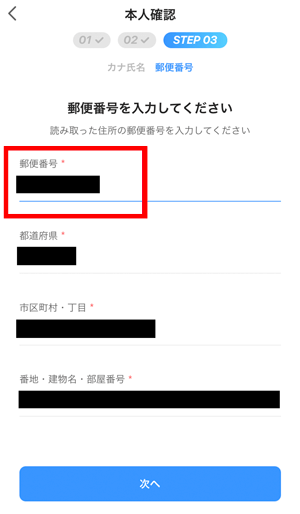
読み取ったら氏名のフリガナと郵便番号を入力してそれぞれ「次へ」をタップします。
個人情報が表示されます。
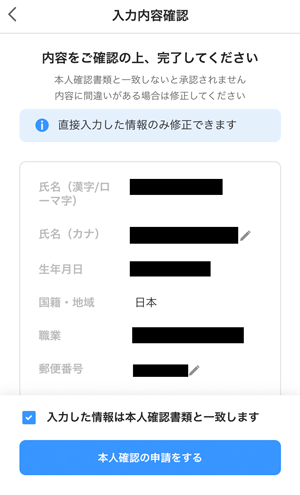
内容に間違いがなければ「入力した情報は本人確認書類と一致します」にチェックを入れ、「本人確認の申請をする」をタップします。
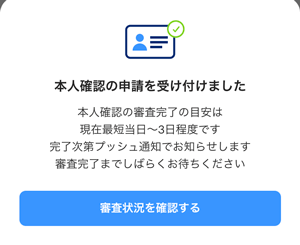
本人確認の申請が完了しました。「審査状況を確認する」をタップして審査状況を確認します。
なぜか私はすぐに本人確認されました。
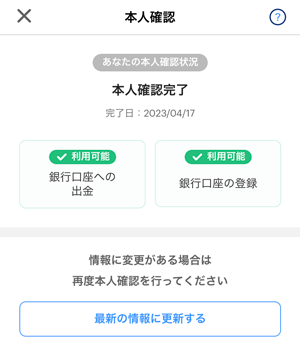
これでPayPayに銀行口座を登録することができるようになります。
PayPayにPayPay銀行の口座を登録する
次にPayPayに銀行口座を登録します。
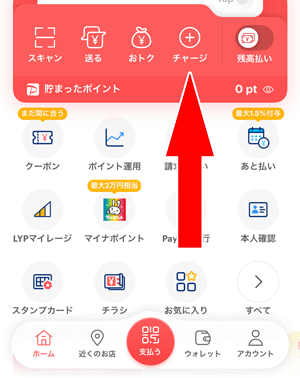
PayPayのホーム画面を開いて「チャージ」をタップします。
チャージの方法を選択します。
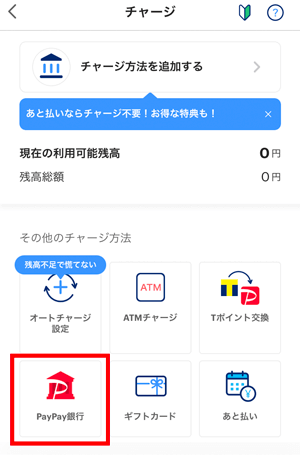
ATMや他銀行からでもチャージできますが、私はいちばん簡単そうなPayPay銀行をタップしました。
たまたま口座を持っていました。
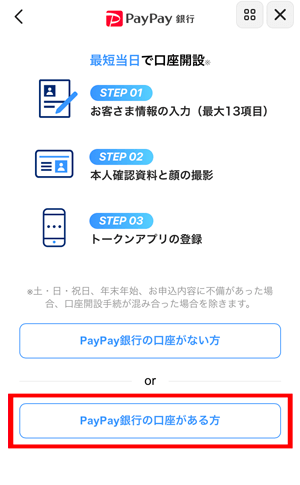
新たに口座を開設することもできますが、ここでは「PayPay銀行の口座がある方」をタップします。
PayPay銀行の店番号・口座番号・ログインパスワードを入力して、口座振替規定に同意したら「同意してログインする」をタップします。
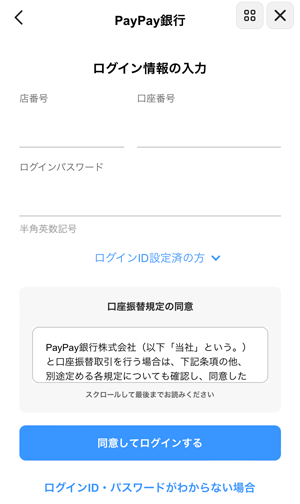
PayPayのチャージ用口座に追加されました。
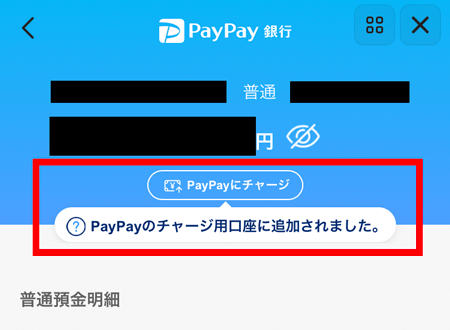
PayPayにチャージする
続いて「PayPayにチャージ」もしくはホーム画面の「チャージ」をタップします。
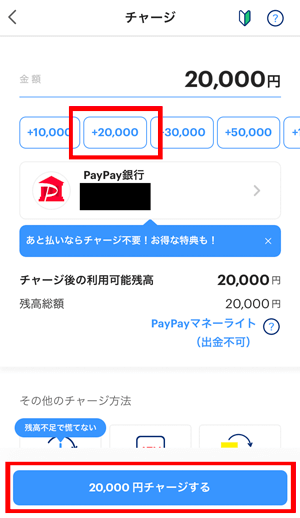
「+20000」をタップして「20000円チャージする」をタップします。
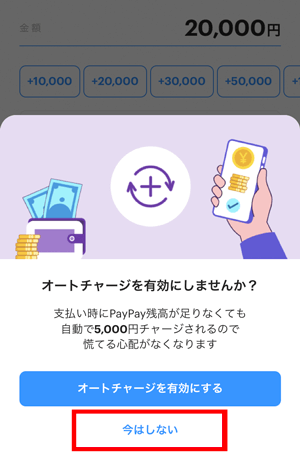
「オートチャージを有効にしませんか?」と訊かれますが、私は「今はしない」をタップしました。
2万円チャージされました。
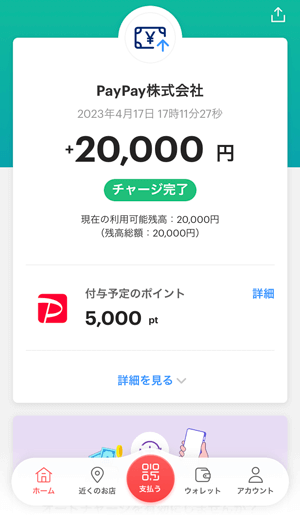
「付与予定のポイント」としてマイナポイント5000ptも表示されています。
5000ptはすぐに付与されました。
PayPayで支払う
実際にPayPayで支払いをします。
ここでは受け取ったマイナポイントを使います。
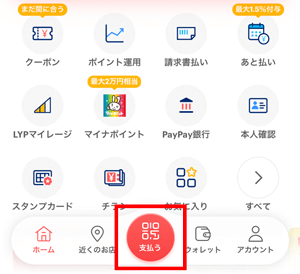
支払いの前にPayPayのホーム画面の「支払う」をタップします。
下図赤枠の箇所をタップして支払い方法を「PayPay残高」に設定します。
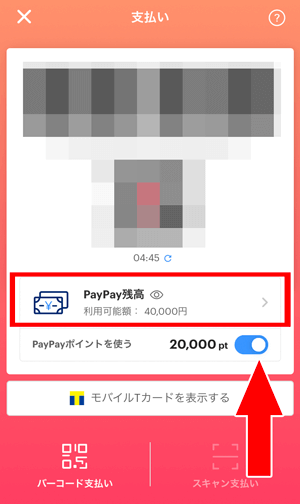
次に「PayPayポイントを使う」のボタンをタップして有効(青色)にします。
ちなみに私の場合、マイナポイント申し込みの翌日には残りの15000ptも付与されていました。
これで20000ptすべて受け取りました。
あとは画面に表示されているコードをレジで読み取ってもらいます。
無事支払うことができました。
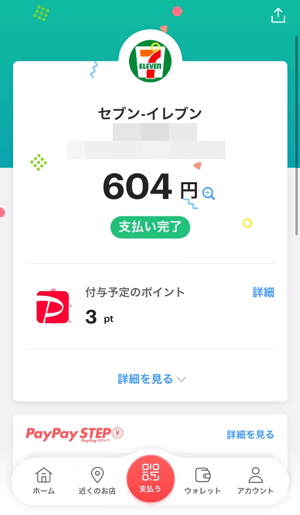
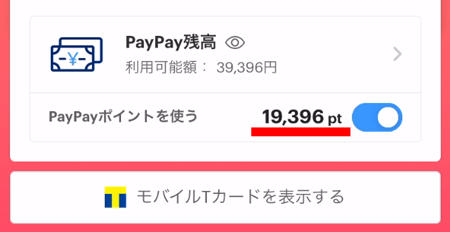
残高を見ると、ちゃんとポイントから支払われたのが分かります。
以上で終了です。
特に難しいことはないので、PayPayの利用を検討してみるのもいいかもしれません。
コメント