
先日、iPhone SE第2世代の割れた液晶ガラスを交換してもらい、Spigenのガラスフィルムとケースを装着しました。
またダイソーの「ラウンドワイヤレスチャージャー」も購入。ワイヤレス充電も試しました。
今回はそれらの装着の模様や使い勝手などをお伝えします。

小石健と申します。YouTubeチャンネルはこちら。
ガラスが割れたiPhone SE2
今回の内容についてはYouTubeに動画もアップしているので、よければこちらもご覧ください。
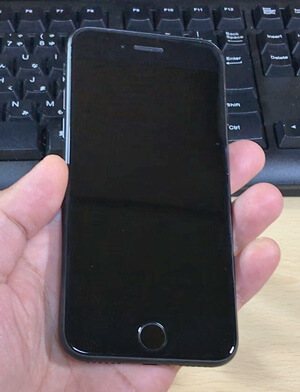
私は現在(当記事投稿時点)iPhone SE第2世代を使っています。下図は液晶ガラス交換前の状態です。
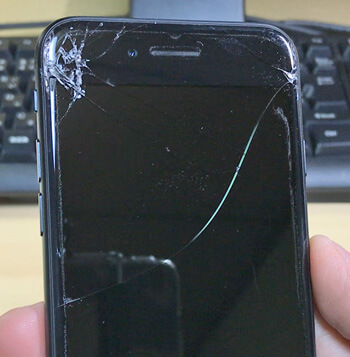
YouTubeの撮影やUber Eats の配達で落としてバキバキに割ってしまいました。
特に左上角は中身が少し見えています。酷い。
幸い背面は無事です。
保護フィルムとケースも酷い有様です。
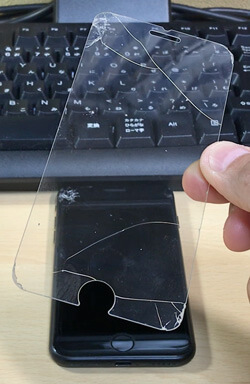
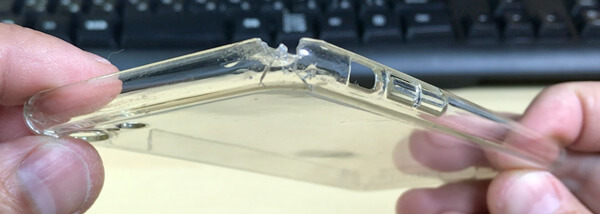
以上の2つでは保護しきれなかったので、新たに購入した以下の物に交換します。
ガラスを交換してもらう
その前に、スマホの修理屋にガラスを交換してもらいました。
液晶の色が少し薄くはなりましたが、バキバキよりはるかにマシです。見違えました。
この店の交換料金は「標準」のガラスが6980円、「ハイグレード」が12980円でした(いずれも税込価格)。
私は標準を選びました。
最初は修理キットを購入して自力で交換しようと思いましたが、YouTubeでその作業の動画を見たところ、素人には難しそうだったのであきらめました。
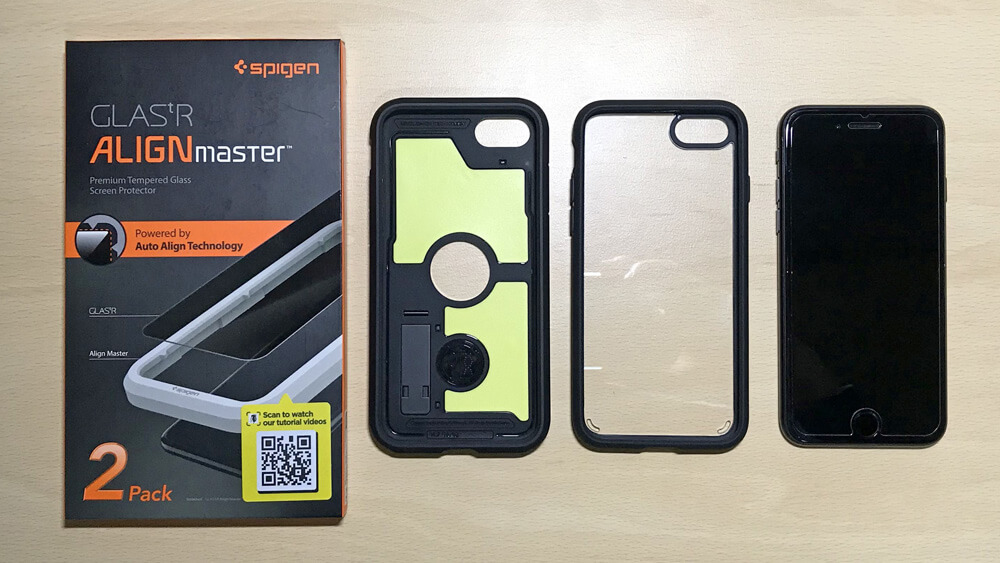
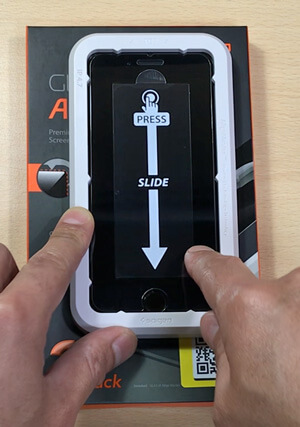
Spigenのガラスフィルムを貼る
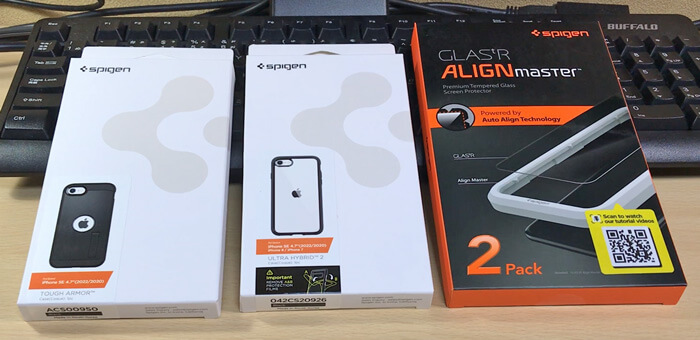
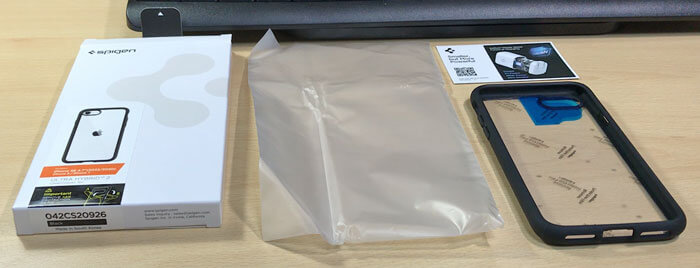
最初にガラスフィルムを貼ります。用意したのはこちら。
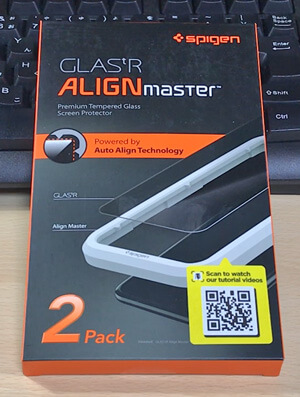
Spigen(シュピゲン)の「ALIGN master(アライン・マスター)」です。

これはiPhone SE第2世代と第3世代、またiPhone7と8に使えるようです。
付属品は以下のとおり。
- ガラスフィルム2枚
- ガイド枠
- ヘラ
- クロス
- ウェットシート2枚
- ホコリ取りシール2枚
- 取扱説明書
まずiPhoneのガラスの汚れをウェットシートとクロスで拭き取り、ホコリ取りシールでホコリを除きます。
私はホコリだけ取り除きました。
ガイド枠をiPhoneにはめ込み、ガラスフィルム裏面のフィルムをはがします。
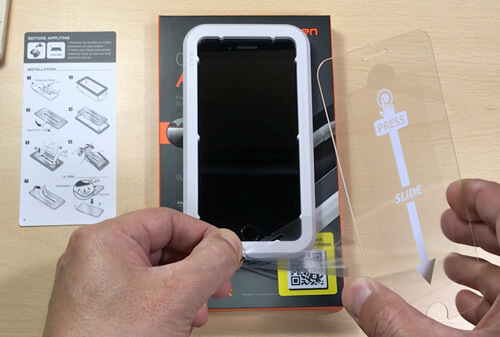
あとはガイド枠内にガラスフィルムを置くだけ。間違いようがありません。
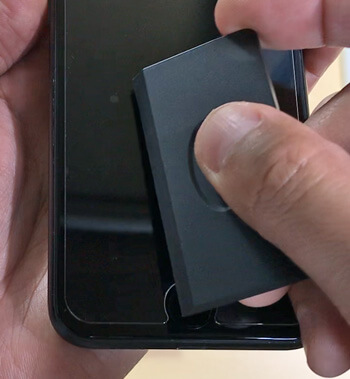
表面のシールの矢印に沿って指でガラスフィルムを押しつけ、気泡を押し出します。
ガイド枠を外し表面のシールをはがしたら、小さな気泡をヘラで押し出します。
ほぼ完璧に貼ることができました。
iPhoneの操作も問題ありません。
ゲームでシビアな操作をするならともかく、普段使いで支障を感じることはないかと思います。
このガラスフィルムの硬度は9Hで、はっきり段差を感じる厚みがあります。
ただiPhoneのガラスの角まで覆ってはいないので、次にケースも装着します。
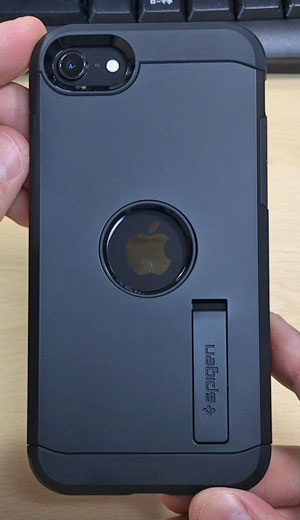
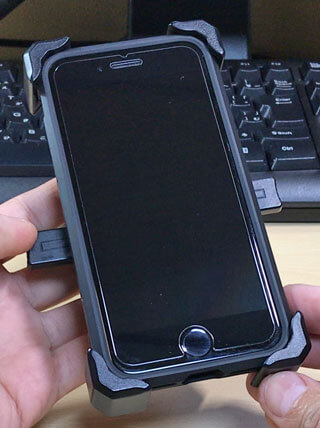
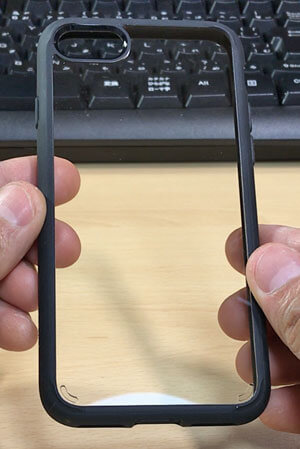
Spigenのタフ・アーマーを装着
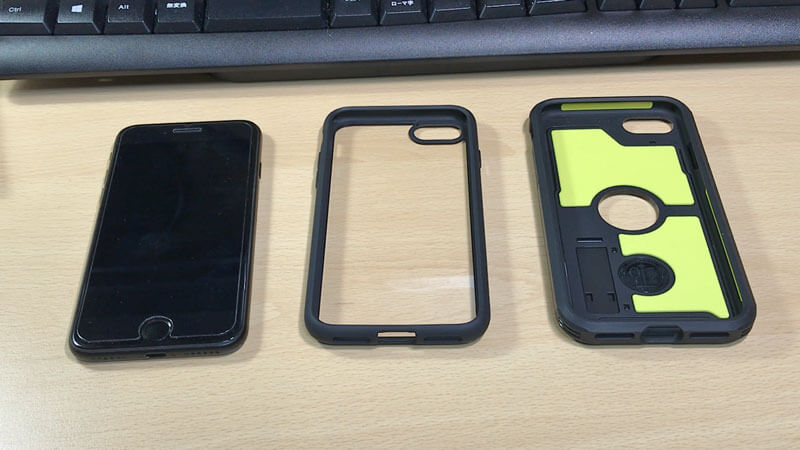
ケースは同じくSpigenの「TOUGH ARMOR(タフ・アーマ)」です。
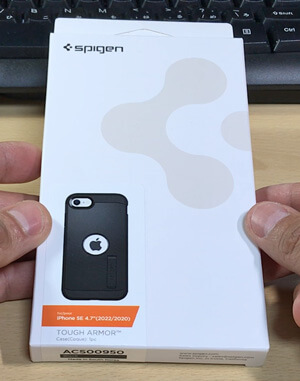
iPhone SE第2世代と第3世代用です。

背面パネルはポリカーボネート、インナーケースはTPU(熱可塑性ポリウレタン)で、着脱することができます。
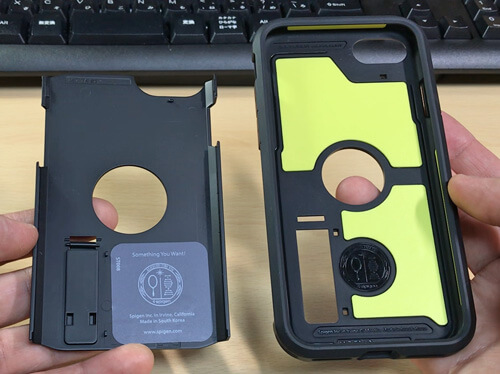
この二層構造に「エクストリームインパクトフォーム」を追加した三重の構造ということで、その名のとおり重厚で頑丈な印象を受けます。
背面パネルに反してインナーケースは柔らかいため、iPhoneへの装着は苦ではありません。
同じメーカーなので当然ですが、ガラスフィルムにも干渉しません。
ただ、ガラスフィルムとケースの間が2mmほど空きます。
といっても、ケースの縁が高くiPhoneの角も保護されているので、それほど気にすることではないと思いますが。
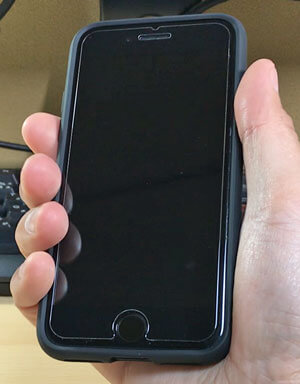
質感は滑らず引っかからずで絶妙な手触りです。
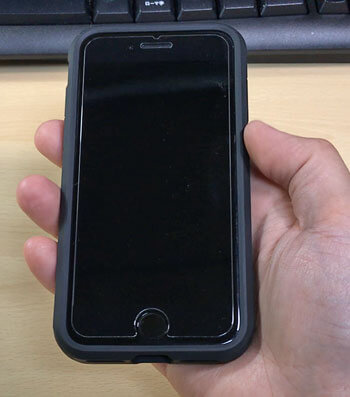
装着する前はケースの厚さが気になりましたが、逆に手に馴染んで私には持ちやすい。
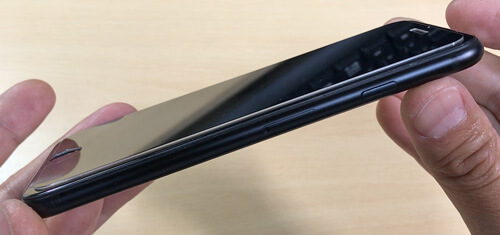
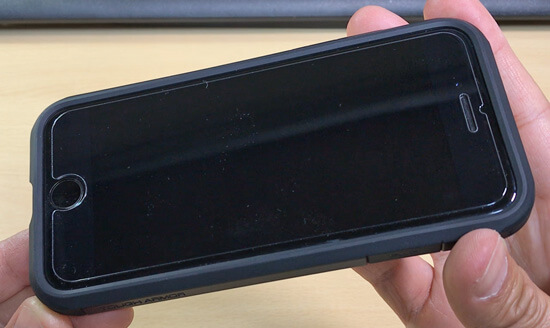
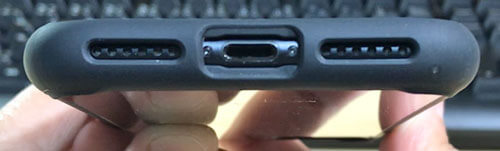
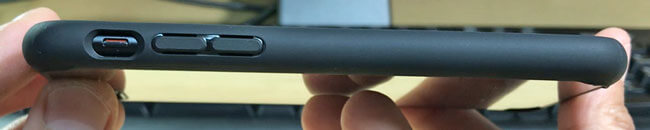
以下は側面の図。ケースの厚さは約1cmです。
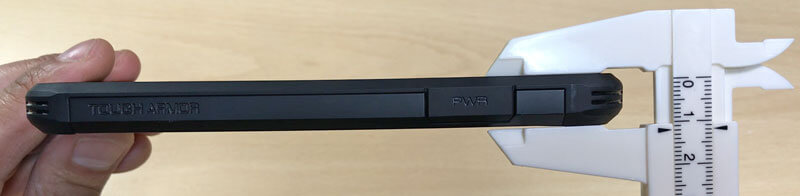


サイレントスイッチが少し切り替えにくいだけで、その他のボタン操作はまったく問題ありません。
背面もカメラはちゃんと保護されています。
ケースが厚いのでカメラが深い。
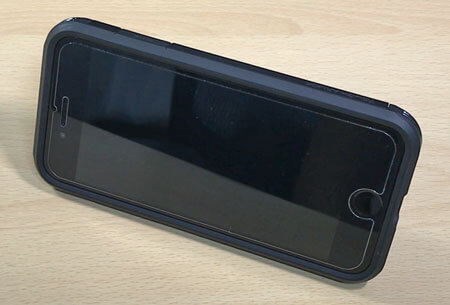
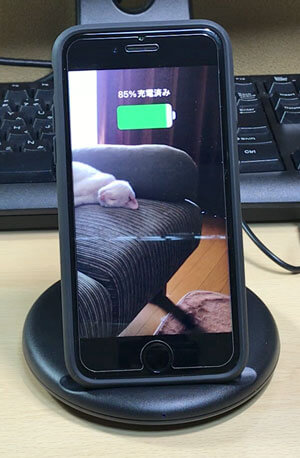
スタンドは爪が短いと起こしにくい。
スタンドでiPhoneを立てるとこんな感じです。YouTubeの視聴などにいいかもしれません。
ライトニングケーブルを試す
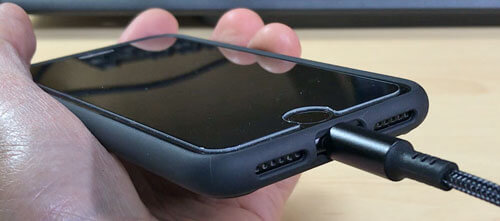
前回紹介した3COINS(3コインズ)のライトニングケーブルを試します。
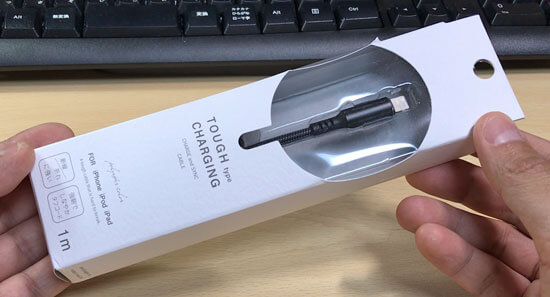
税込330円という安さですが、このケースでは完全に挿すことはできません。
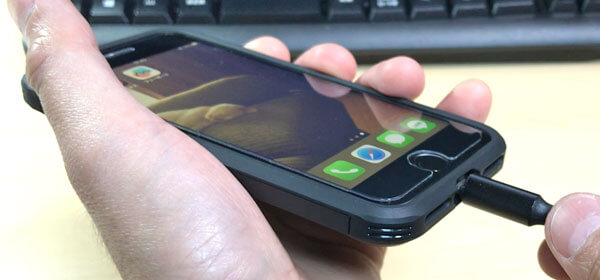
充電もできません。
下図の左が3COINSで、右が完全に挿せるケーブルです。
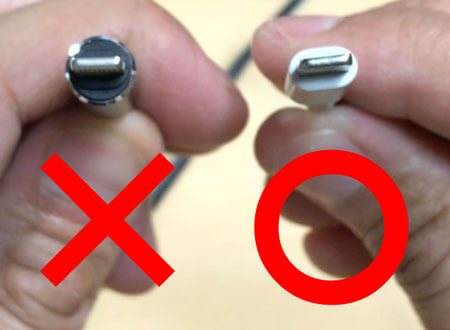
このように端子の根元が太いと、このケースではつっかえるようです。
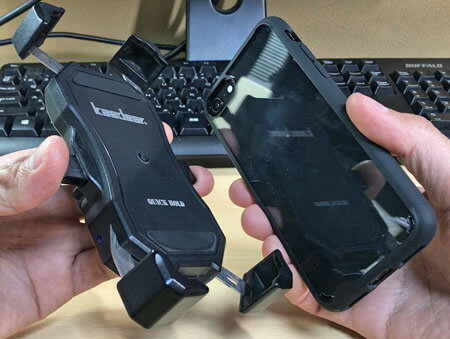
バイクのスマホホルダーを試す
次にバイクのスマホホルダーを試します。
用意したのはKaedear(カエディア)のワイヤレス充電スマホホルダー。

サイズは問題なく、上図のようにしっかりと装着することはできます。
ただしケース背面の穴のせいで、ホルダーの脚を閉じるボタンを押すことができません。
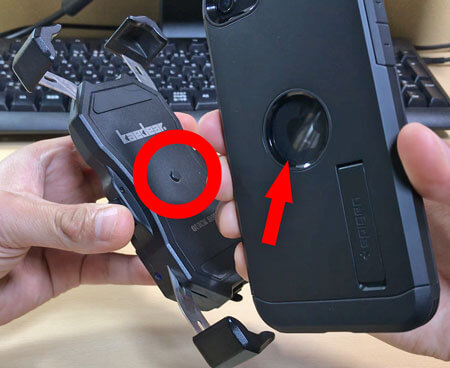
幸か不幸か、私のはボタンが壊れていて脚が自動で戻るため装着に困ることはありませんが。
バイク乗りの方はご注意ください。
ダイソーのワイヤレス充電器を試す
ワイヤレス充電も試します。
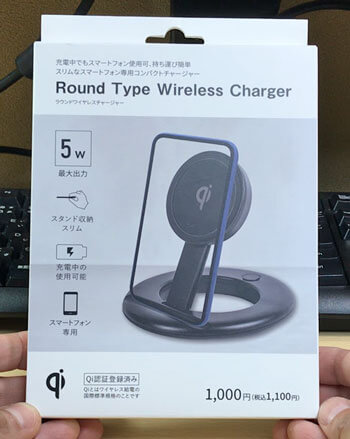
ダイソーの「Round Type Wireless Charger ラウンドワイヤレスチャージャー」です。
税込1100円でした。
前述のスマホホルダーは壊れてワイヤレス充電を試すことができないためこれを購入しました。
付属のUSB Type-Cケーブルを接続して、タフ・アーマーを装着したiPhoneを置いてみました。
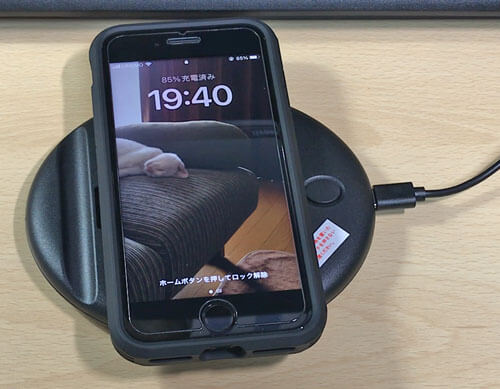
反応した、と思ったのも束の間、iPhoneの充電マークが消えてしまいました。
スタンドを立てても反応はイマイチです。
充電することはできますが、何度もiPhoneを置き直すのが面倒です。
裸のiPhoneで試したところ反応はよくなったので、おそらくケースの厚さが関係しているかと思われます。
Spigenのウルトラ・ハイブリッド2を装着
ということで、別のケースも試します。
これもSpigenの「ULTRA HYBRID2(ウルトラ・ハイブリッド2)」というものです。
iPhone SE第2世代と第3世代用です。
購入時はAmazonベストセラー1位でした。

こちらは背面に穴は空いていませんが、全面がクリアです。
材質はポリカーボネートと熱可塑性ポリウレタンということで、タフ・アーマーと同じです。
縁の高さやガラスフィルムとの間もタフ・アーマーとほぼ同じです。
タフ・アーマーより一回り小さい感じはしますが、側面の感触も同じです。
以下は側面の図。ケースの厚さは約9mmです。

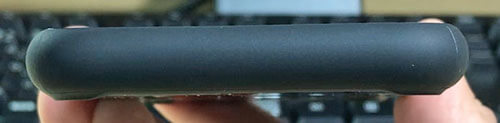
ボタンの類も問題なく操作できます。
タフ・アーマーほどの厚さはありませんが、カメラの保護も充分です。
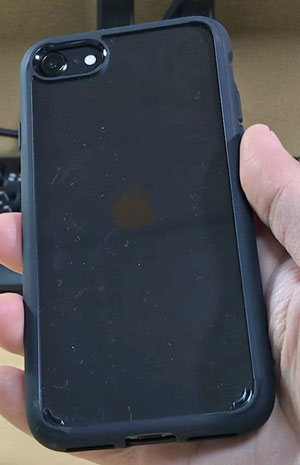
背面は硬く、強度も問題なさそうです。
クリアなので指紋は目立ちますが。
ライトニングケーブルを試す
タフ・アーマーとは違い、ウルトラ・ハイブリッド2では3COINSのライトニングケーブルを挿すことができました。
もちろん充電もできます。
バイクのスマホホルダーを試す
前述のカエディアのスマホホルダーにもしっかりと装着できます。
背面が平らのウルトラ・ハイブリッド2なら、ホルダーのボタンも押せます。
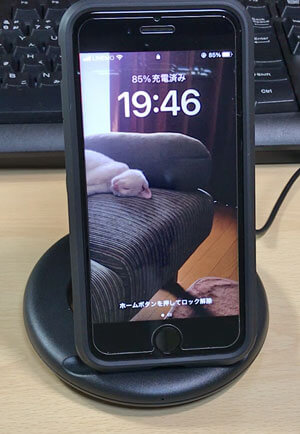
ダイソーのワイヤレス充電器を試す
続いてダイソーのワイヤレス充電器を試しました。
スタンドを立てた方が反応しやすいようです。
ですが、タフ・アーマーほどではないものの、このケースでも反応しないことがあります。
なんにせよケースを装着していると反応が鈍くなるのか、それともこの充電器の性能がいまいちなのかは分かりません。
慣れているせいもありますが、個人的にはライトニングケーブル直挿しで充電した方が簡単なような気がします。
保護フィルムとケースは良い物を使う
今回得た教訓は、「スマホの保護フィルムとケースは最初から良い物を使った方がいい」ということです。
当たり前のことのようですが、私はガラスがここまで簡単に割れるとは思っていませんでした。
薄っぺらく保護範囲も狭いものだとやはり駄目だということが分かりました。
その点、これらSpigenのガラスフィルムとケースはいずれも衝撃に強そうで頼もしい。
感触や使い心地も良好です。
まだ数日しか装着していませんが、今後の経過もいずれお伝えできればと思っています。
コメント