

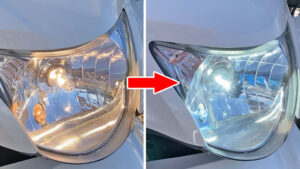
以前、原付二種スクーターのアドレス125(DT11A)のライトをLED化しました。
今回はその点灯具合や節電効果を確かめるべく、夜に走行した模様をお伝えします。

小石健と申します。YouTubeチャンネルはこちら。
LEDの点灯を確認する
今回の内容はYouTubeに動画もアップしているので、よければこちらもご覧ください。
まず停車した状態で点灯を確認しました。
場所はまったく街灯のない夜道です。
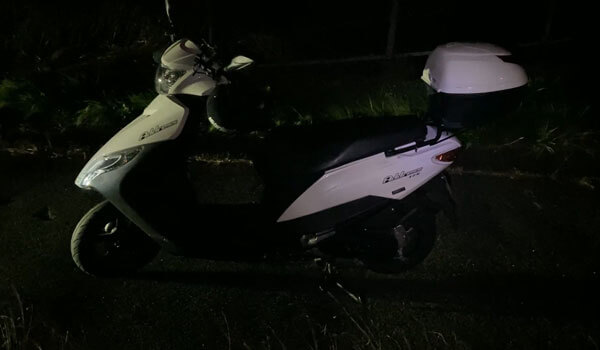
すれ違う車両のライトが遠ざかると辺りは真っ暗になります。点灯を確認するには格好です。
ちなみに、このときの確認作業と動画撮影はすべてひとりで行いました。怖い。
テールランプとブレーキランプ
テールランプおよびブレーキランプには、こちらのランプを用いました。

これは1年半ほど経った現在(当記事投稿時点)でも問題なく使用しています。
下がテールランプ点灯状態です。
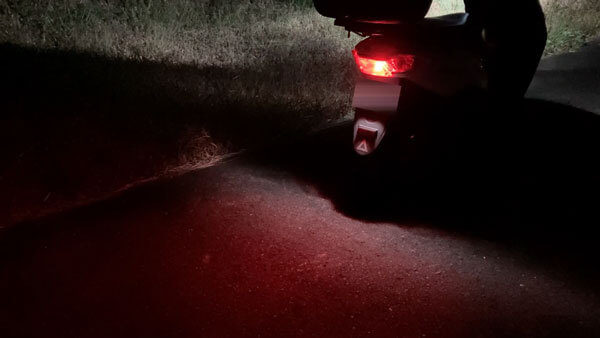
下がブレーキ(ストップ)ランプ点灯状態。
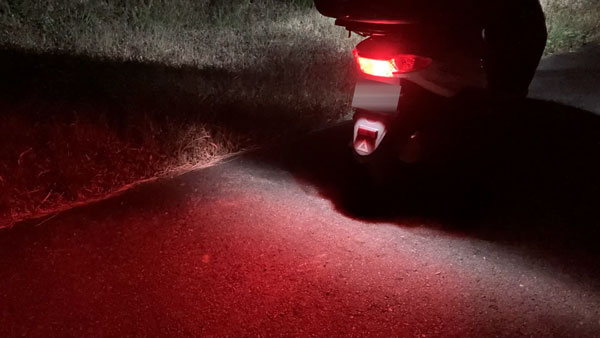
明るさも問題なく、充分視認できます。
メーターランプ
メーターランプにはこちらを用いました。

目に優しいアイスブルーです。
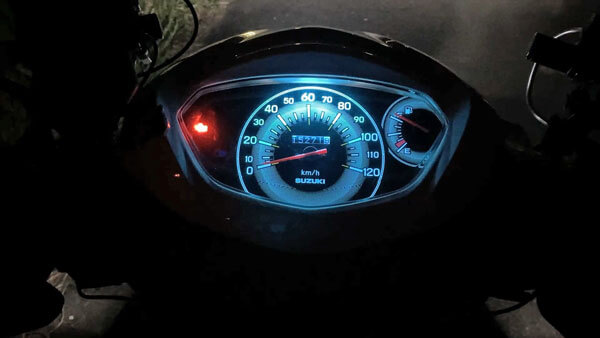
こちらも問題なく点灯しましたが、ポジションランプともに数か月しか持ちませんでした。
なので現在はこちらを使っています。

このランプの交換の模様は下の記事をご参照ください。
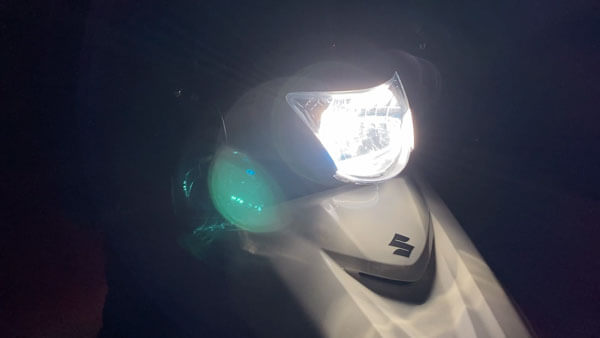
ヘッドライトとポジションランプ
ヘッドライトはデイトナのものです。

これもテールランプ同様、取り付けから現在まで使い続けています。
下がハイビーム。
下がロービーム。
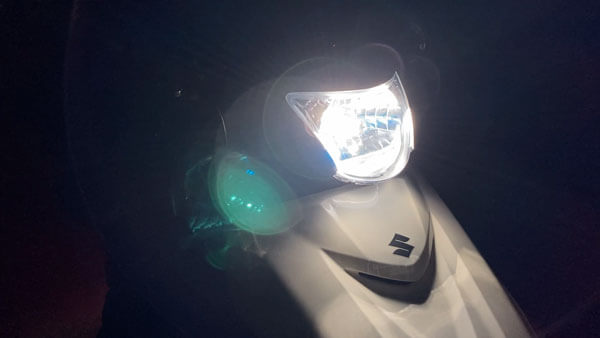
画像では分かりにくいですが、ポジションランプもちゃんと点いています(前述のとおり数か月しか持ちませんでしたが)。
下がハイビームの照明範囲。
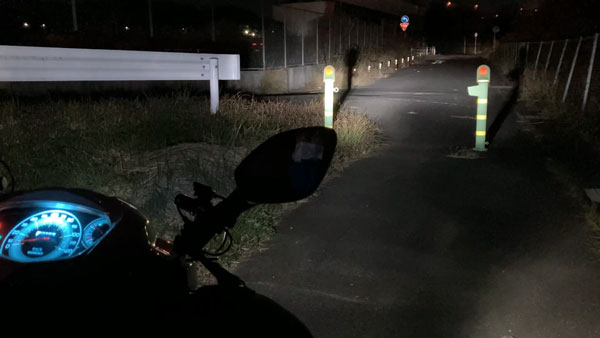
下がロービームの照明範囲。
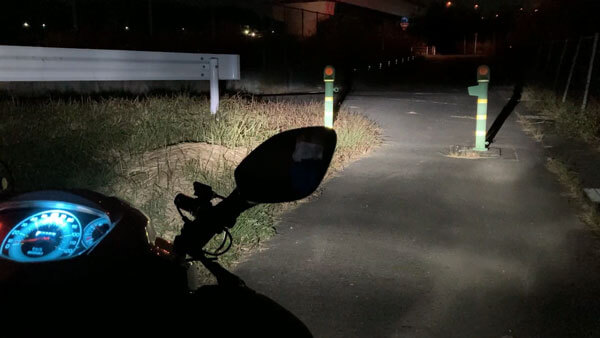
いずれも問題はありません。
実走して節電効果を確認する
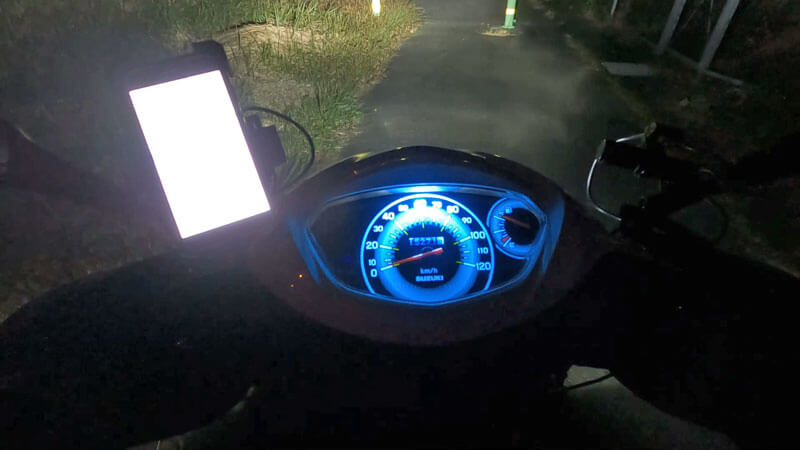
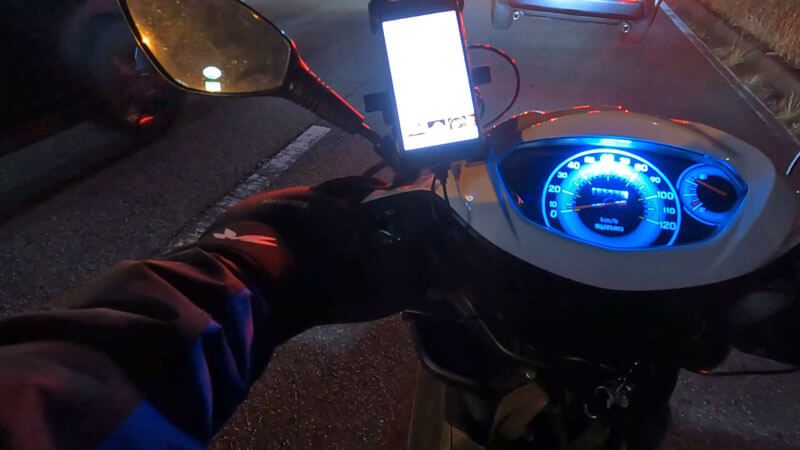
次にグリップヒーターとワイヤレス充電スマホホルダーをUSB電源に接続します。
スマホホルダーにはiPhone SE 第2世代をセット。
LED化以前に、この状態でアドレス125を走らせた模様をお伝えしたことがあります。

このときはiPhoneが満足に充電されず微妙な結果となりました。
LED化による節電でiPhoneの充電を賄うことができるのではないか、というのが今回の主旨です。
街灯がないとやっぱり怖い
その前に、街灯がないとロービームでは心もとない。
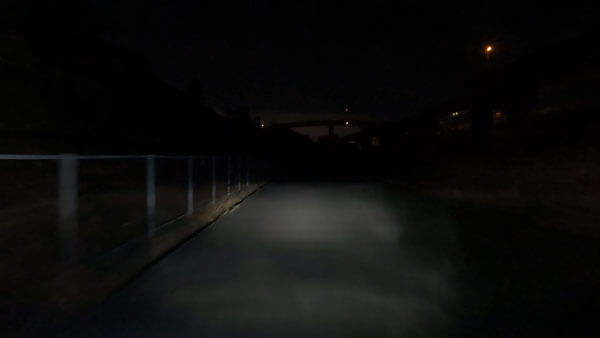
先が見えません。
ハロゲン球に比べると明るくはなりましたが、さすがにこれでは怖い。ハイビームにします。
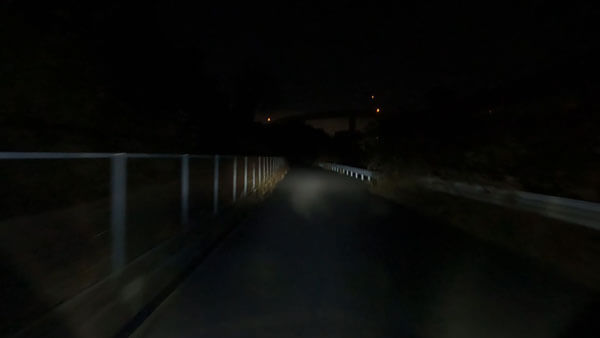
これならなんとか大丈夫。
ここまで暗い道を走ったことはありません。
こういうときのためにLED化しておいた方がいいかもしれません。
iPhone充電(Googleマップ起動)
街灯のある道路ならもちろんロービームでも問題ありません。
このときは冬ですが、手はグリップヒーターとハンドルカバーでぬくぬくです。
iPhoneはずっとGoogleマップを起動しています。
LED化以前は変化なしだったバッテリーも、今回はちゃんと充電されました。
バッテリー残量は30分ほどで5%増えました。
iPhone充電(Uber Driver起動)
問題は配達アプリの「Uber Driver」を起動させた状態です。
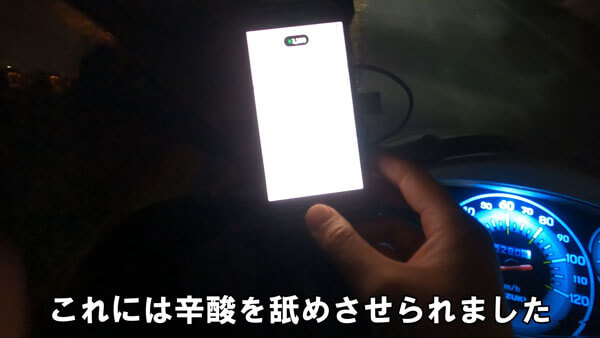
なぜかこのアプリは消費電力が高く、LED化以前は20分ほど走ったところでバッテリー残量が12%も減ってしまいました。
Uber Eats の配達をしている私は、これを解決するのが最終目的です。
果たしてどうなるか…
ということで、こちらも30分ほど走ったところ、バッテリー残量は6%増えました。
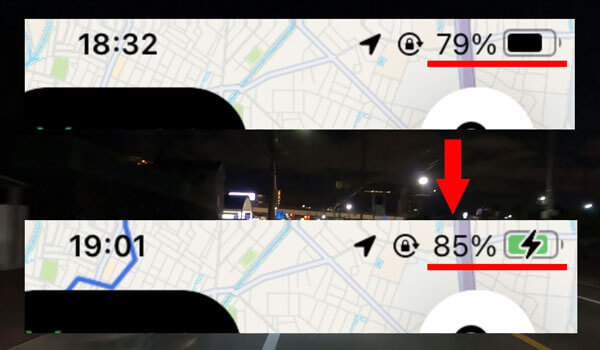
ついに充電問題を克服。
今回は充電も途切れませんでした。やはりLED化による節電効果でしょうか。
結局よく分かりませんでしたが、バイクのLED化をするなら、その利便性が「手間とお金」に見合うか考えた方がいいと感じました。
ちなみに、その後しばらくしてUSB電源自体が壊れ、グリップヒーターやワイヤレス充電が使えなくなってしまいました。
これはまたいずれ直したいと思っています。
コメント