

前回は、e-Taxで電子申告するまでの流れと必要な物について解説しました。
今回は、e-Taxにログインするために必要な「利用者識別番号」と「暗証番号」の取得の手順をお伝えします。

小石健と申します。YouTubeチャンネルはこちら。
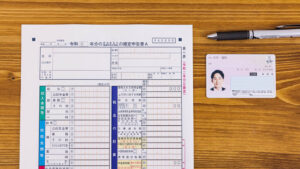
使用する物
今回の内容はYouTubeに動画もアップしているので、よければこちらもご覧ください。
ここでは「個人がパソコンを使って行う」という前提で進めます。
また途中で行う「電子署名」の登録には、マイナンバーカードとカードを読み取ることのできるスマホを使用します。
その場合に必要となるのは、マイナンバーカードの「署名用電子証明書暗証番号」とスマホの「マイナポータル」アプリです。
- パソコン
- マイナンバーカード
- マイナンバーカードの署名用電子証明書暗証番号
- マイナンバーカード読み取り可能のスマホ
- スマホの「マイナポータル」アプリ
なお、今回取得した番号や入力した情報は、忘れないようどこかに保存しておくのをおすすめします。
利用者識別番号と暗証番号を取得する
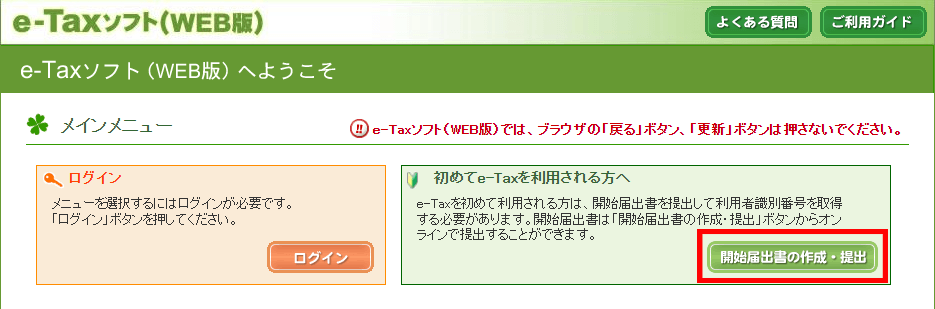
まず、e-Taxのサイトを開き「ログイン」をクリックします。

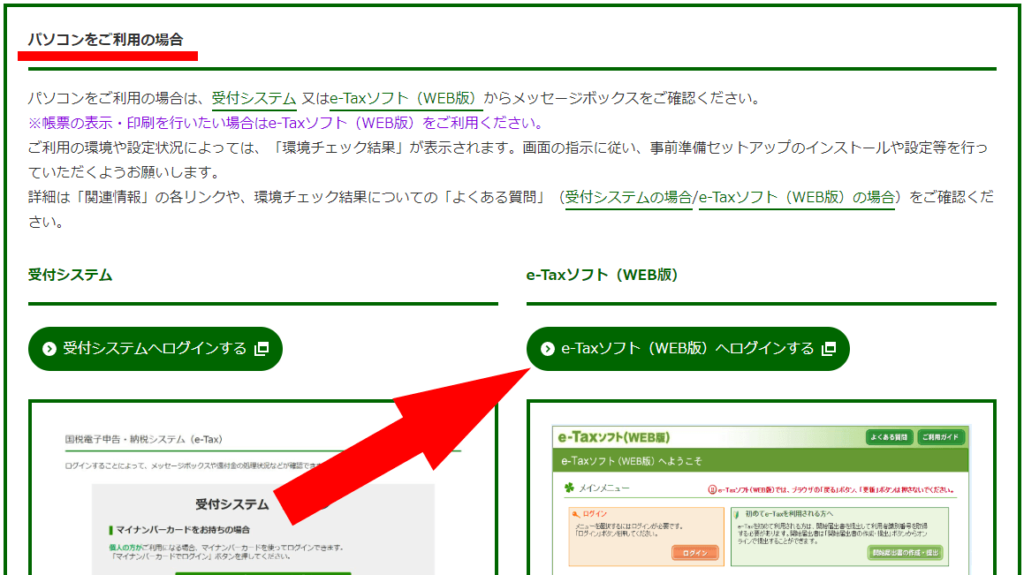
「パソコンをご利用の場合」の「e-Taxソフト(WEB版)へログインする」をクリックします。
私は「環境チェック結果」が表示されました。
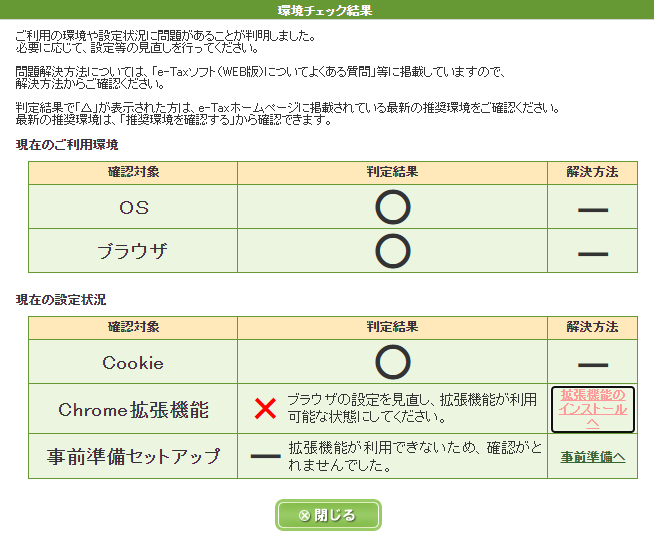
上図の判定結果の場合、電子署名の送信完了画面の保存(後述)ができませんでした。
保存するのであれば、あらかじめ「Chrome拡張機能」と「事前準備セットアップ」の設定をした方がいいかと思います。
私は無視して「閉じる」をクリックしましたが…
「Chrome拡張機能」と「事前準備セットアップ」の設定については下の記事をご参照ください。
「初めてe-Taxを利用される方へ」の「開始届出書の作成・提出」をクリックします。
「個人の方」をクリックします。

「開始届出(個人の方用)新規」の画面が表示されます。
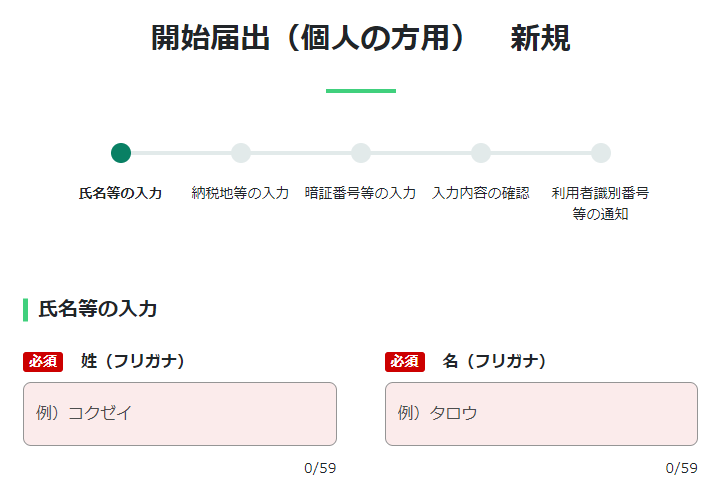
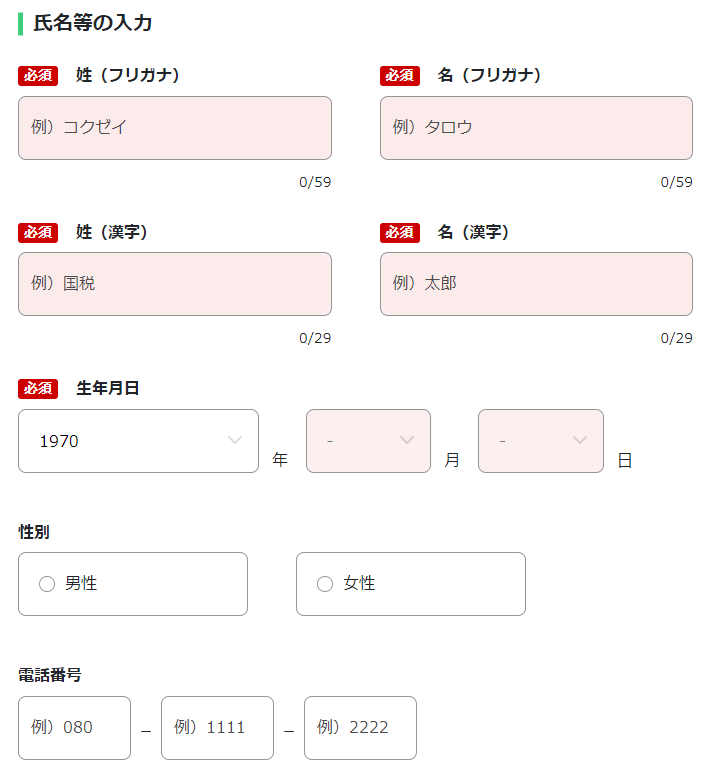
「氏名等の入力」にて以下の項目を入力・選択します。
- 姓と名(必須)
- 生年月日(必須)
- 性別
- 電話番号
- 職業(必須)
- 屋号・雅号
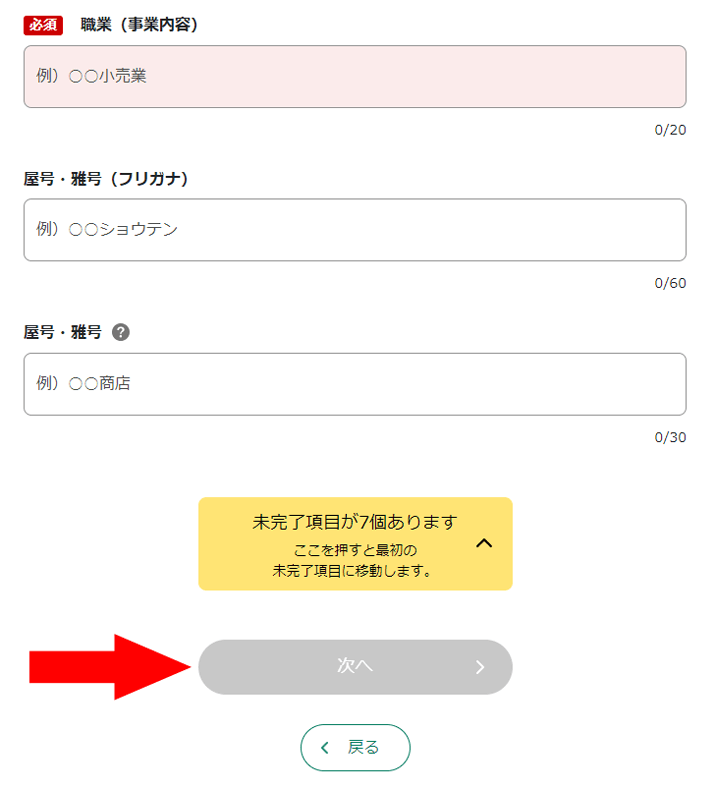
「次へ」をクリックします。
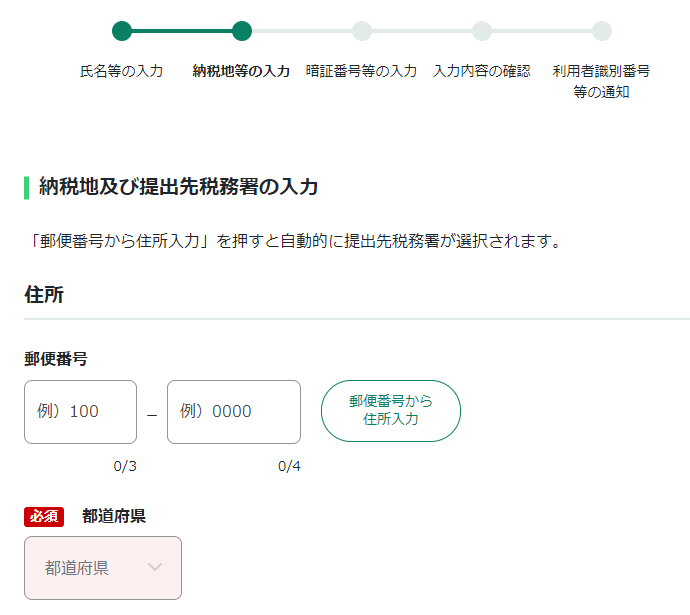
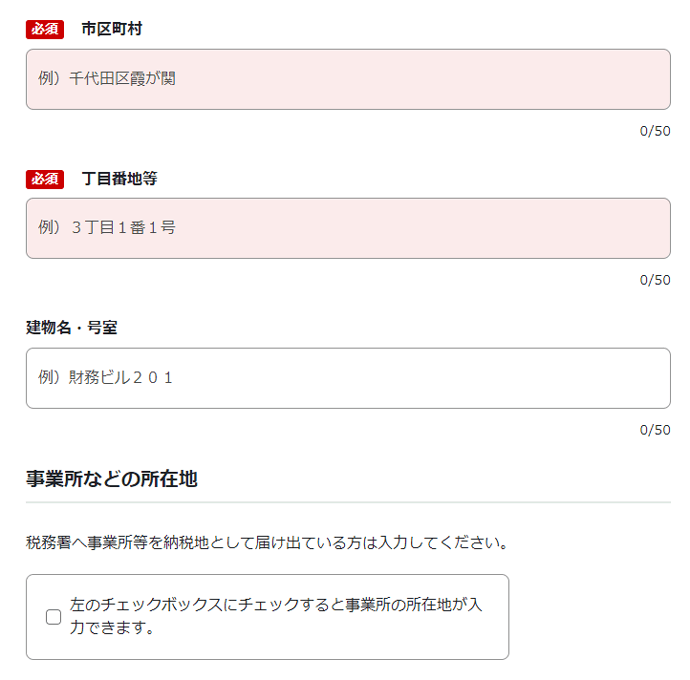
「納税地等の入力」にて以下の項目を入力・選択します。
- 郵便番号
- 都道府県(必須)
- 市区町村(必須)
- 丁目番地等(必須)
- 建物名・号室
- 事業所などの所在地
- 提出先税務署(必須)
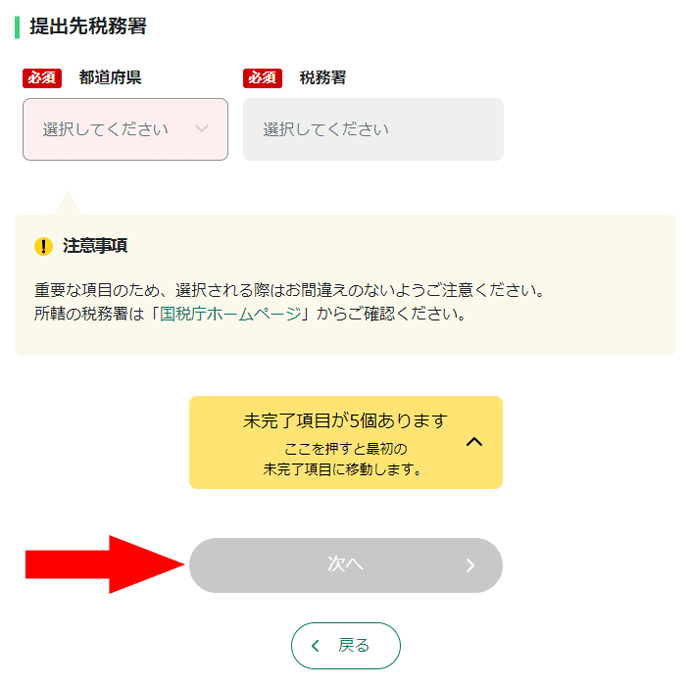
「次へ」をクリックします。
「暗証番号等の入力」にて、まず任意の「暗証番号」を入力します。
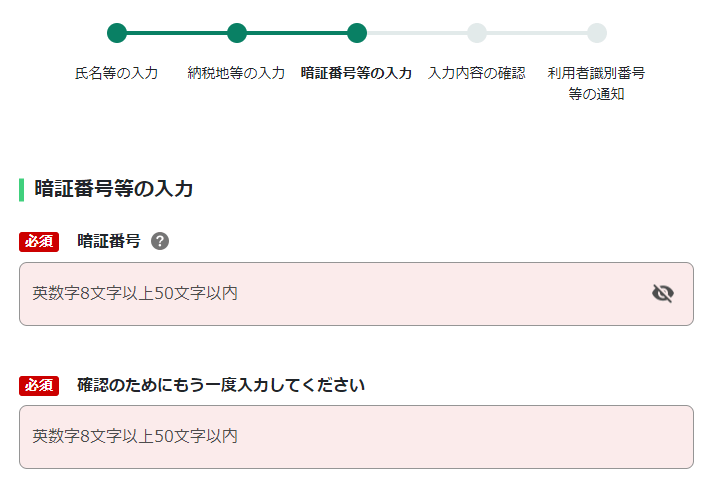
「暗証番号」とはe-Taxにログインする際に必要となる番号で、注意点は以下のとおりです。
- 文字数は8文字以上50文字以内
- 英小文字・数字の2種類を必ず使用
- 【使用可能文字】
- 英文字:A~Z a~z(大文字小文字を区別する)
- 数字:0~9
- 記号:! / = + : # , @ $ – % . _
次に暗証番号の再設定の際に必要な「秘密の質問と答え」の設定をします。
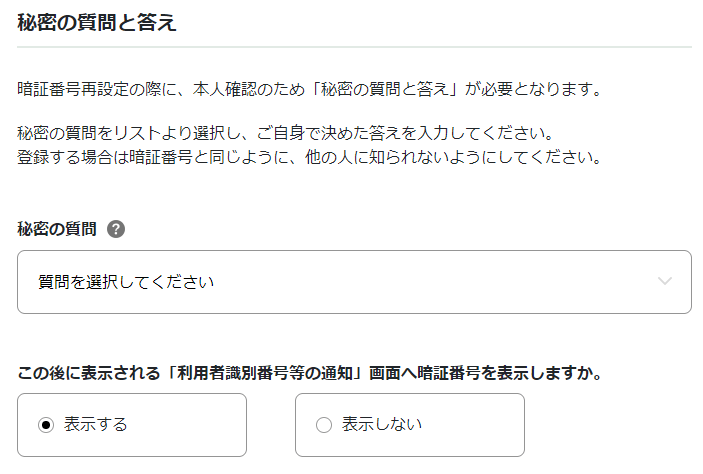
「この後に表示される『利用者識別番号等の通知』画面へ暗証番号を表示しますか」は、私は「表示する」を選択しました。
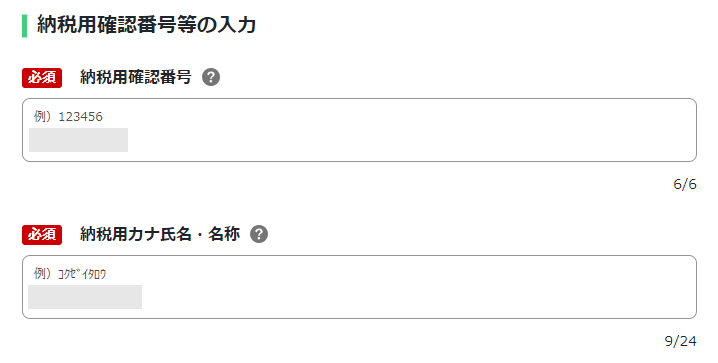
「納税用確認番号」と「納税用カナ氏名・名称」を入力します。
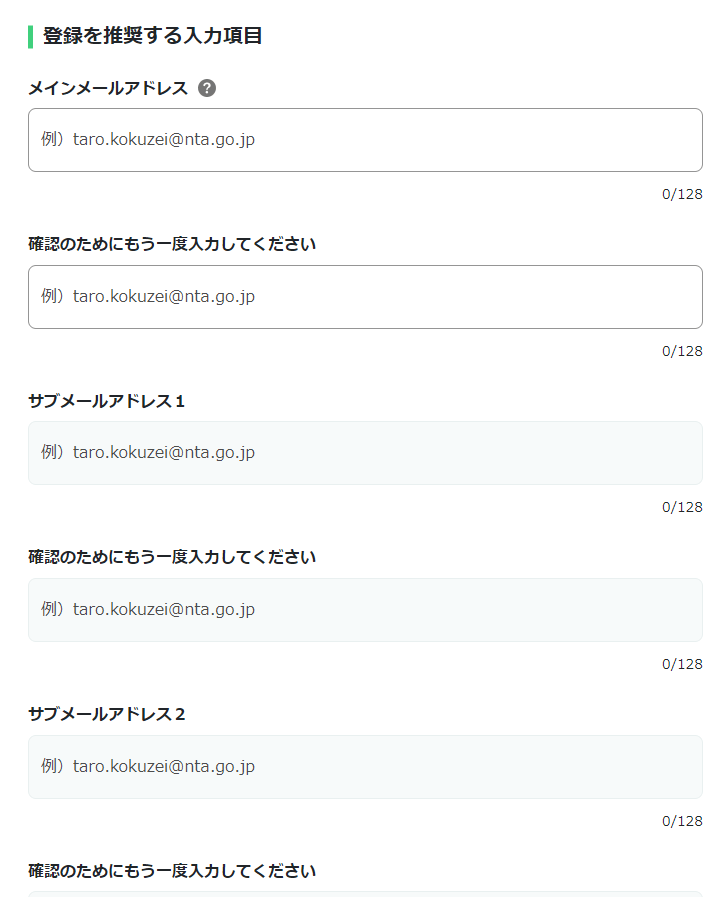
「メインメールアドレス」および「サブメールアドレス」を入力します。
「整理番号」の入力は任意です。分からなければ空欄のままでいいかと思います。
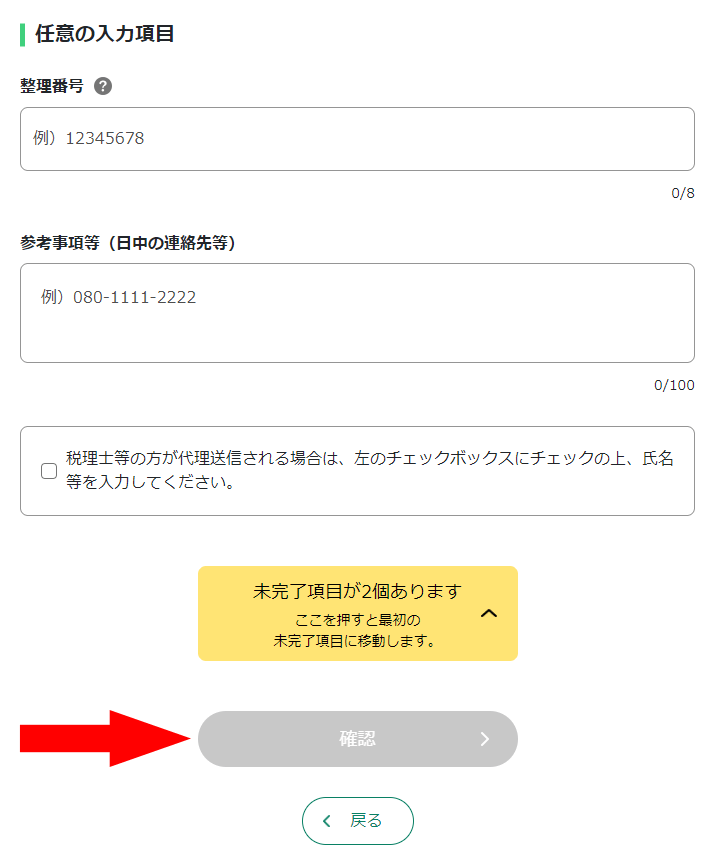
私は税務署から送られてきた確定申告書に記載の番号を入力しました。
あとは参考事項等があれば入力して「確認」をクリックします。
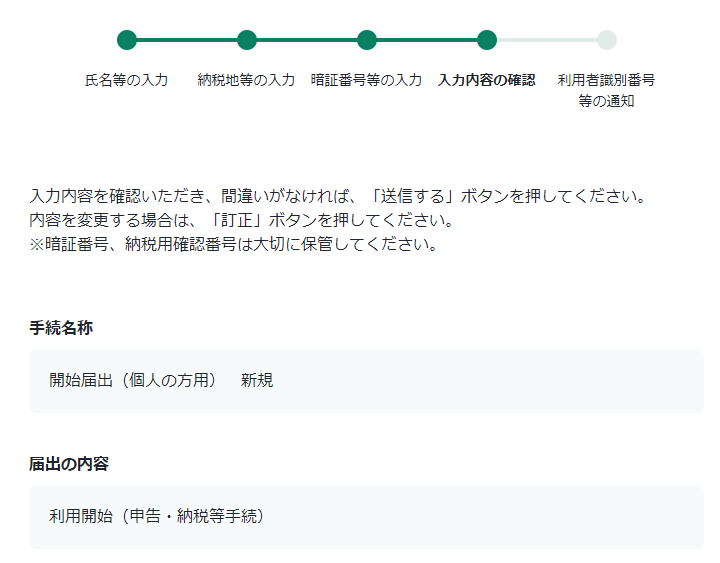
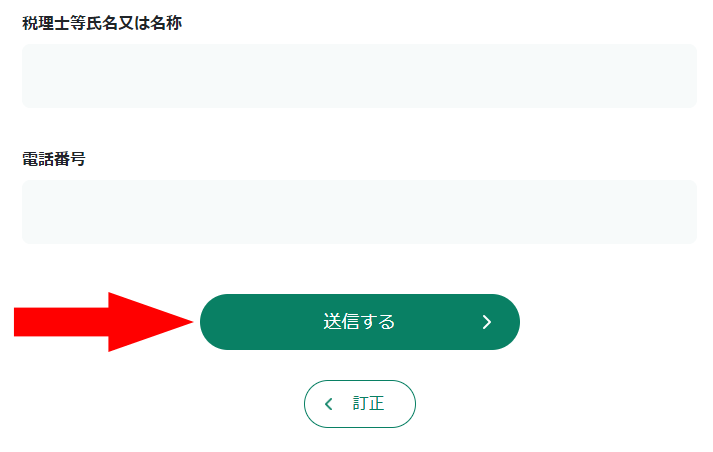
「入力内容の確認」にて、これまで入力した内容に間違いがないか確認します。
問題なければ「送信する」をクリックします。
「利用者識別番号等の通知」にて利用者識別番号と暗証番号が表示されています。
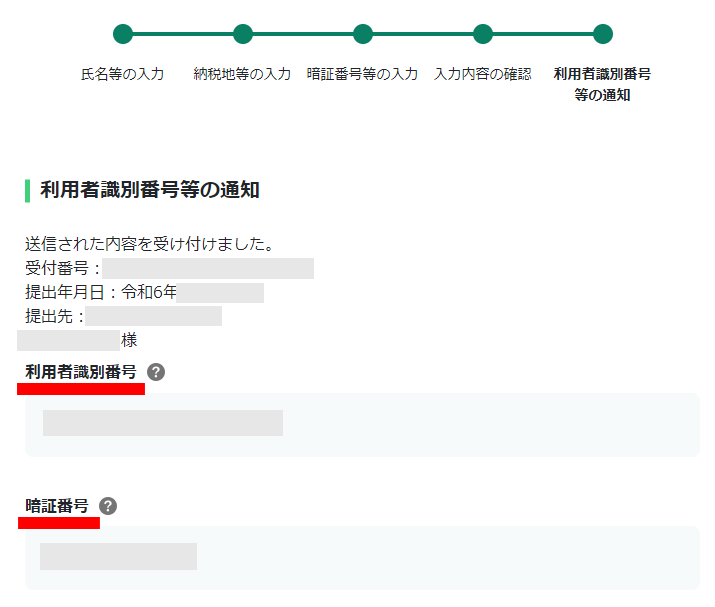
これで2つの番号を取得できました。
忘れないよう番号をどこかに保存して、その下の「次へ」をクリックします。
電子証明書を登録する
次にe-Taxの利用に必要な「電子証明書」を登録します。
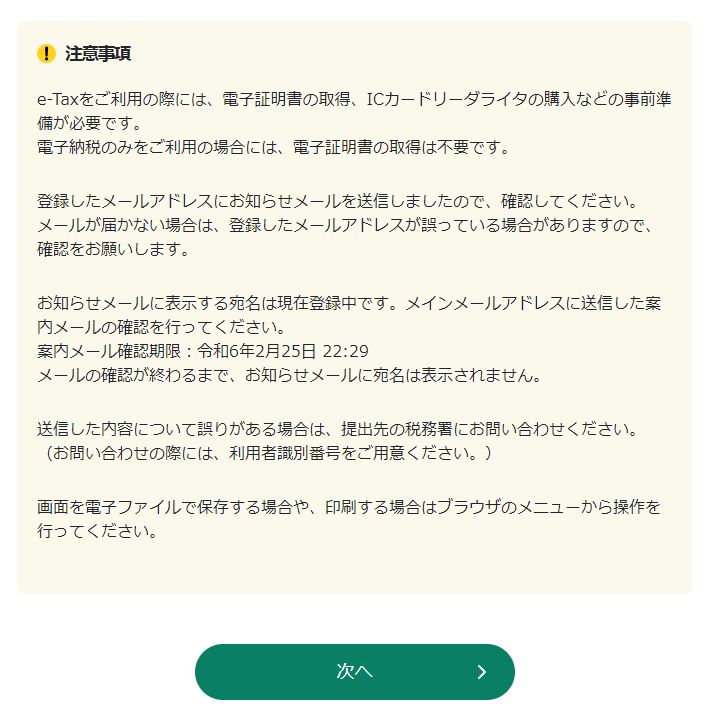
上図の「注意事項」に記載のように、電子納税のみを利用の場合は不要ですが、ここでは手続きを進めます。
上図の「次へ」をクリックすると、「開始届出 新規登録確認」画面が表示されます。
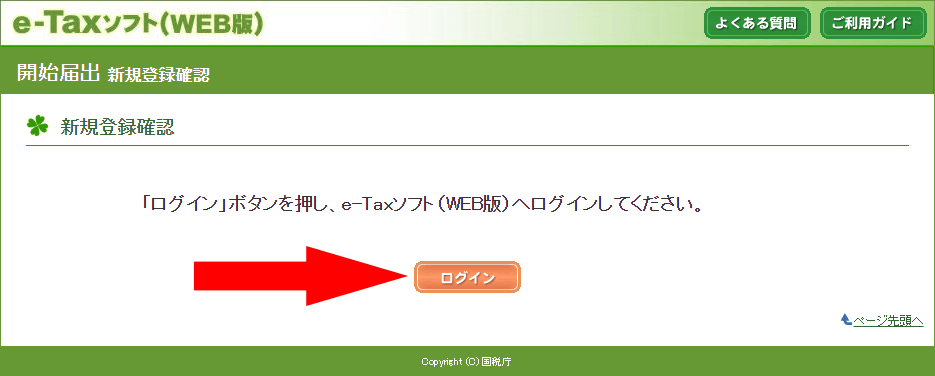
「e-Taxソフト(WEB版)へログインしてください」とのことで、「ログイン」をクリックします。
ログイン画面が表示されます。
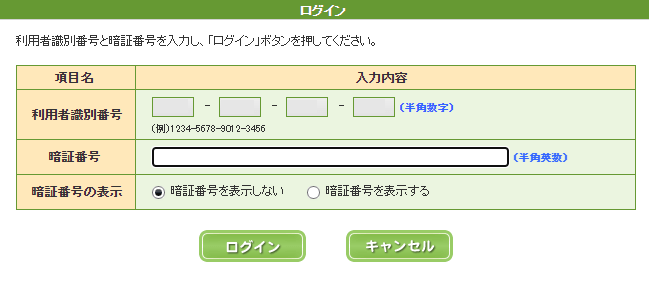
利用者識別番号は記載されているので、暗証番号を入力して「ログイン」をクリックします。
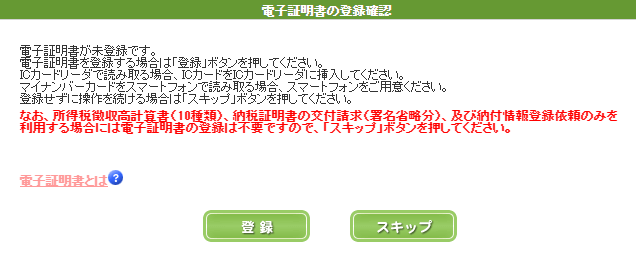
「電子証明書の登録確認」画面が表示されるので「登録」をクリックします。
「媒体の選択」画面が表示されます。
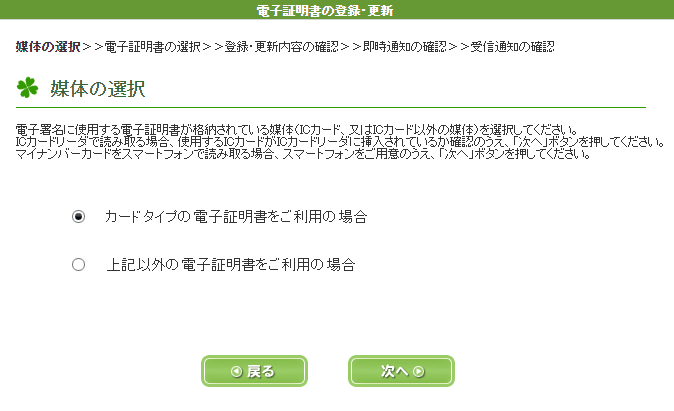
前述のとおりマイナンバーカードをスマホで読み取ります。
「カードタイプの電子証明書をご利用の場合」にチェックが入ったまま「次へ」をクリックします。
「認証局サービスの選択」画面が表示されます。

「公的個人認証サービス(マイナンバーカード)を選択し、「次へ」をクリックします。
「マイナンバーカードの読取方法を選択してください」の画面が表示されます。
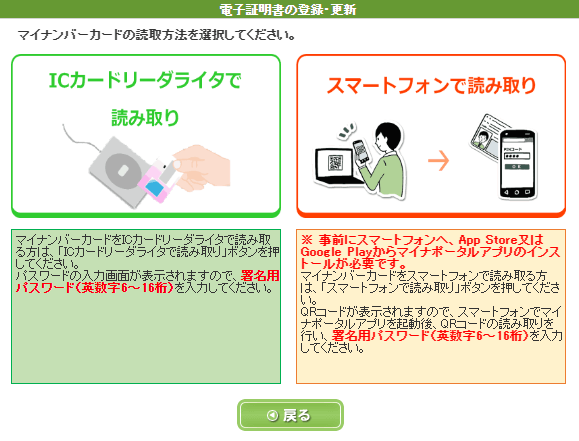
「スマートフォンで読み取り」をクリックします。
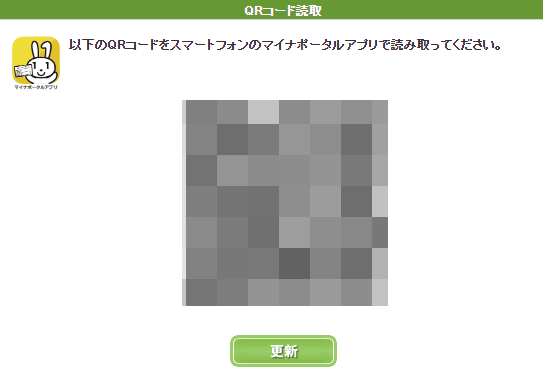
QRコードが表示されます。
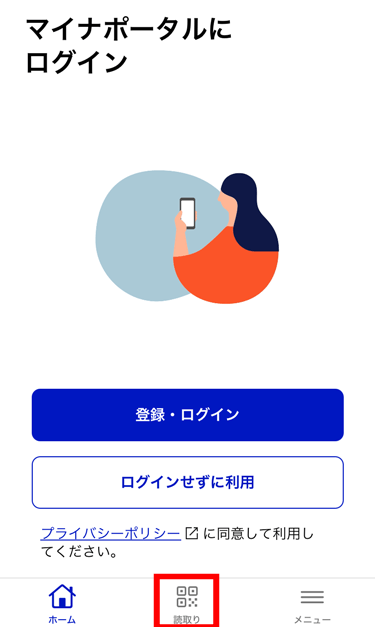
スマホ(ここではiPhone)の「マイナポータル」アプリを起動します。
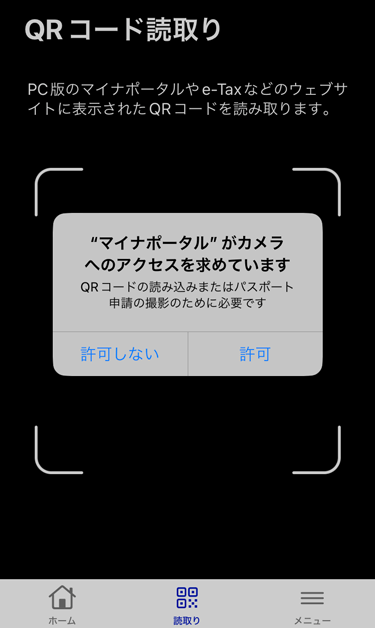
画面下の「読取り」をタップします。
「マイナポータルがカメラへのアクセスを求めています」と表示された場合は「許可」をタップしてQRコードを読み取ります。
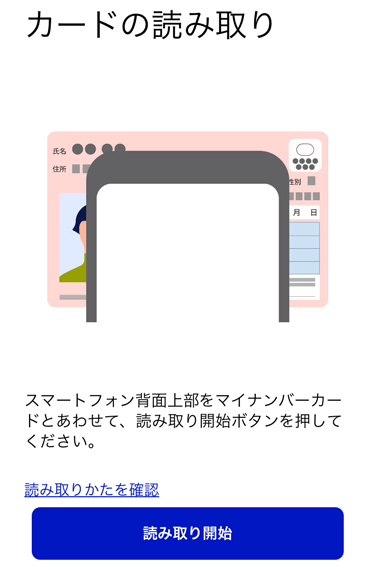
マイナンバーカードの署名用電子証明書のパスワード(暗証番号)を入力して「次へ」をタップします。

「読み取り開始」をタップします。
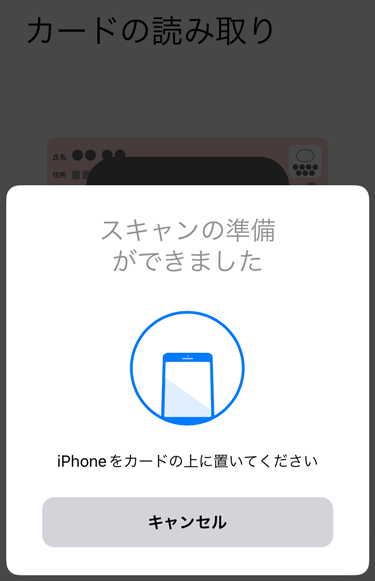
スマホをカードの上に置いて読み取らせます。
問題がなければ「電子署名の付与に成功しました」と表示されるので「閉じる」をタップします。
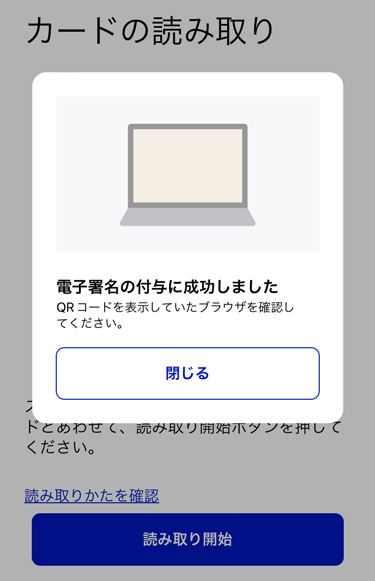
スマホの作業はこれで終わりです。
パソコンの方には「送信が完了しました」の画面が表示されます。
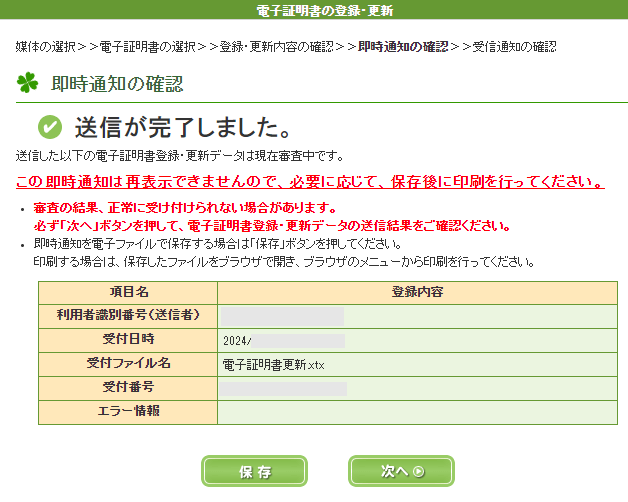
注意事項と登録内容を確認して、この通知を保存のうえ「次へ」をクリックします。
「受信通知の確認」画面が表示されます。
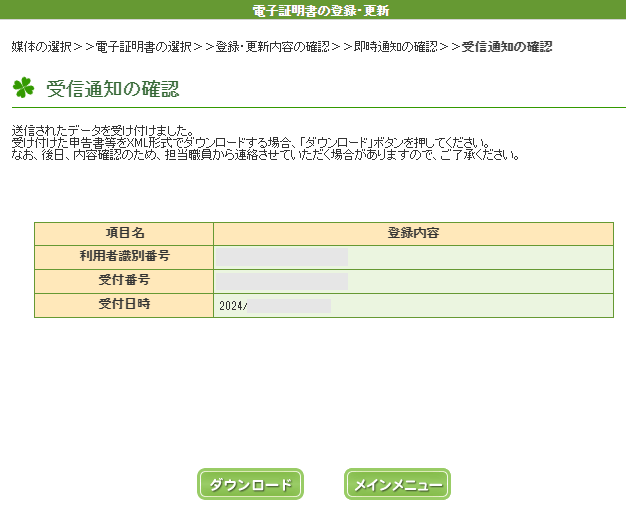
ここも登録内容を確認して、必要であればダウンロードしたうえで「メインメニュー」をクリックします。
「e-Tax ソフト(WEB版)へようこそ」の画面が表示されます。
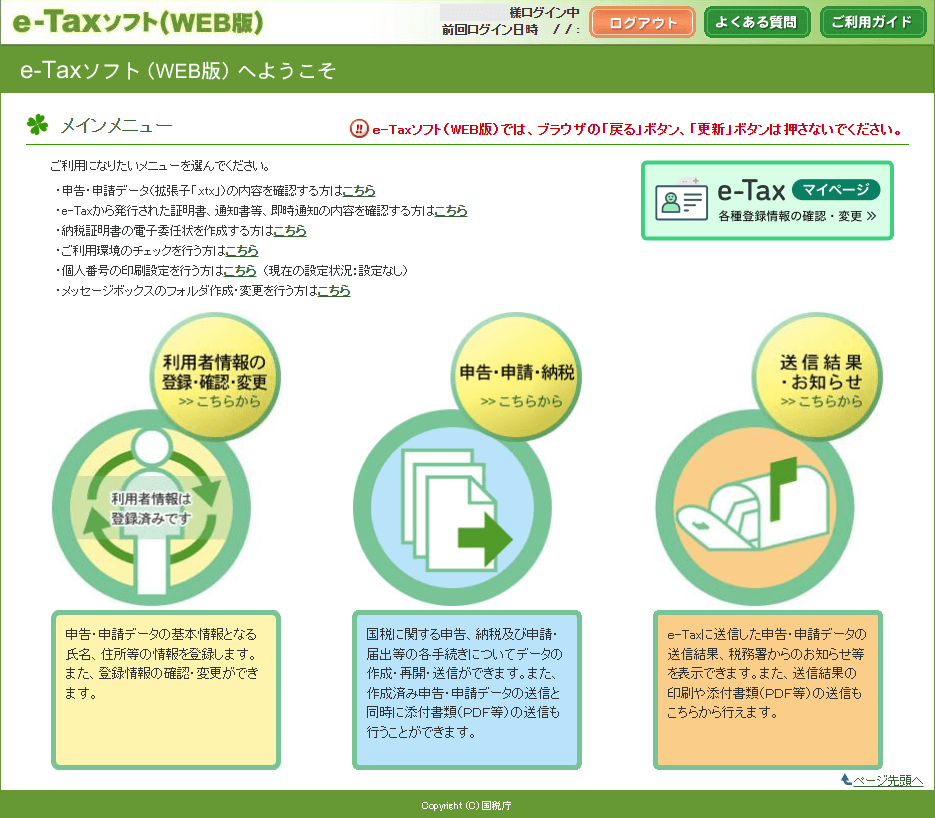
これでe-Taxにログインできるようになりました。
また、登録したメールアドレスに「税務署からのお知らせ」という件名のメールも届いていました。

暗証番号の再設定の際に必要となる「秘密の質問と答え」および「生年月日」の登録が完了した、とのことです。
また税務署からのメールに表示する宛名の登録のため、記載のURLからログインせよ、とのことです。
「メールの到達確認はこちらから」のURLをクリックします(上図矢印)。
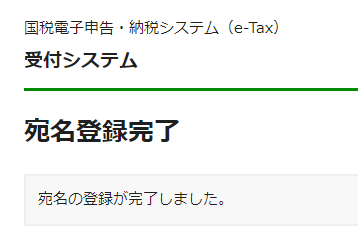
すると「受付システム メール到達確認」画面が表示されます。

取得した利用者識別番号と暗証番号を入力して「確認」をクリックします。
これで税務署からのメールの宛名も登録されました。
以降はメールに宛名(自分の名前)が記載されるようになります。

【PR】やよいの青色申告オンライン
![]()
コメント