
以前、AV仕様のファミコンをパソコンのモニターに接続しました。
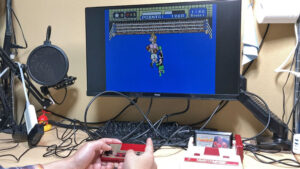
このファミコンの画面をパソコンに取り込むには「キャプチャーボード」が必要となります。
今回は、目当てのキャプチャーボードが自分のパソコンで使えるかを確かめます。

小石健と申します。YouTubeチャンネルはこちら。
AVerMediaのGC311を購入した
今回パソコンで使えるか確かめるのは、AVerMedia(アバーメディア)の「Live Gamer MINI」(型番:GC311)です。

AVerMediaには「診断ツール」というものがあります。
「AVerMedia Diagnosis Tool」といって、自分のパソコンでAVerMedia製のキャプチャーボードが使えるか確認できます。
とはいえ、私はこの診断ツールの存在に気づかないままGC311を購入してしまいました。
すでに手元にあります。
GC311はAV化ファミコンの映像をキャプチャーすることはできませんでした。
購入の際はご注意ください。
GC311の動作環境
AverMediaの公式ページによると、GC311の動作環境は以下のとおりです。
※Windowsのデスクトップパソコンの場合
- 対応OS(RECentral使用の場合※)
Windows® 11 / Windows® 10(64ビット版)以上 - 接続インターフェイス
USB 2.0ポート(UVC・UAC対応、プラグ&プレイの簡単接続) - CPU
Intel® Core™ i5-3330以上(Intel® Core™ i7以上推奨)
もしくはAMD A10-7890K(クアッドコア)以上 - グラフィックボード
NVIDIA® GeForce® GTX 650以上
もしくはAMD Radeon™ R7 250X以上 - メインメモリ
4GB RAM(8GB RAMもしくはそれ以上推奨)
これらは購入前に確認済みで、私のパソコンは以上の要件をすべて満たしています。
なのでGC311は使用できないということはないと思いますが、接続する前に一応診断ツールで確認することにしました。
診断ツールをダウンロードする
まずGC311のダウンロードページを開きます。
「診断ツール」をクリックします(下図①)。
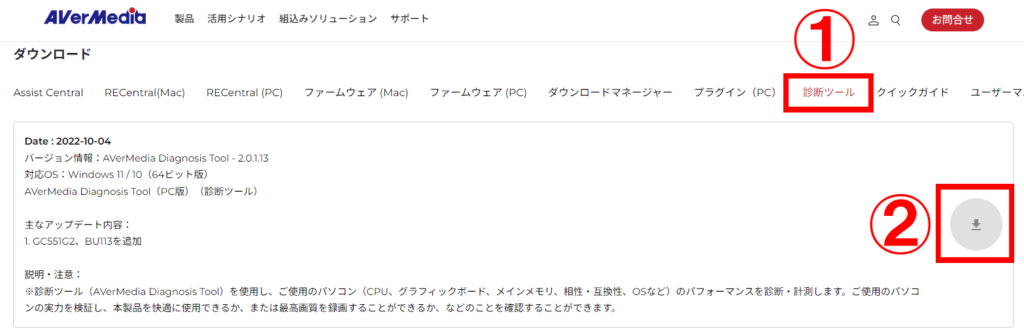
続いて一番上に記載の最新版のダウンロードのボタンをクリックします(上図②)。
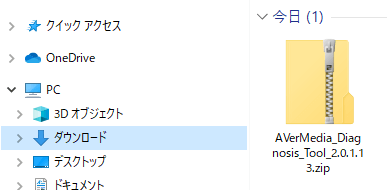
Google Chromeの場合は画面右上、もしくはエクスプローラーの「ダウンロード」にて診断ツールがダウンロードされたことが分かります。

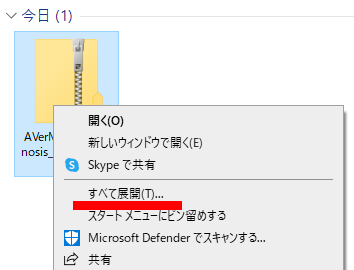
この圧縮フォルダを右クリックして「すべて展開」をクリックします。
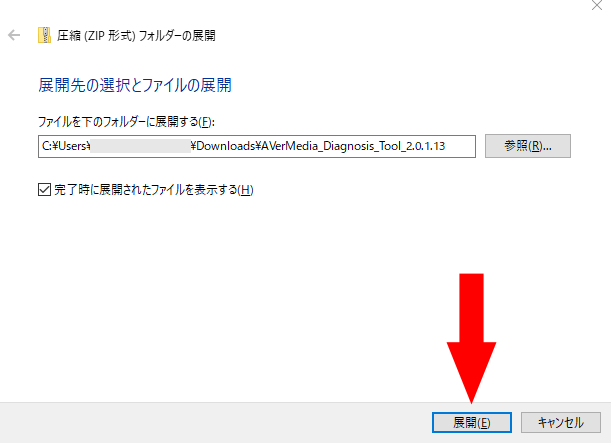
展開先を指定できますが、今回はそのままで「展開」をクリックします。
エクスプローラーの「ダウンロード」にてフォルダが解凍されたのが分かります。
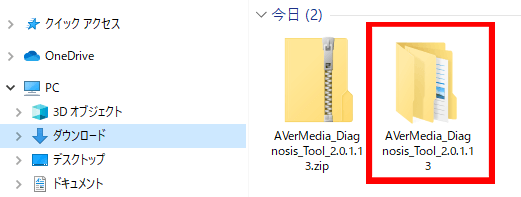
この解凍されたフォルダをダブルクリックして開きます。
この中の「DeviceDiagnosisTool.exe」をダブルクリックします。
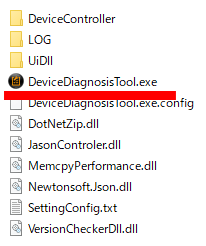
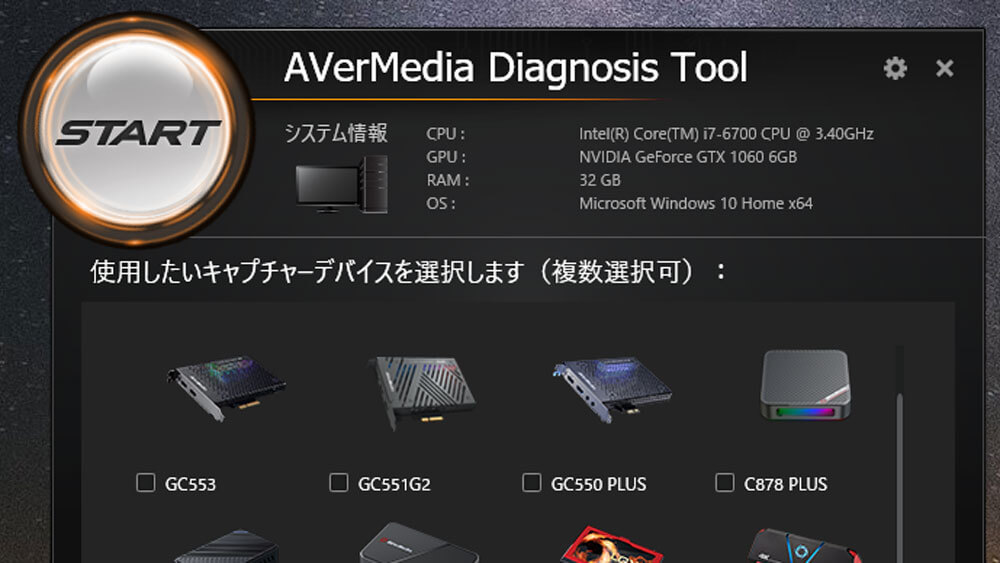
診断ツールが起動しました。
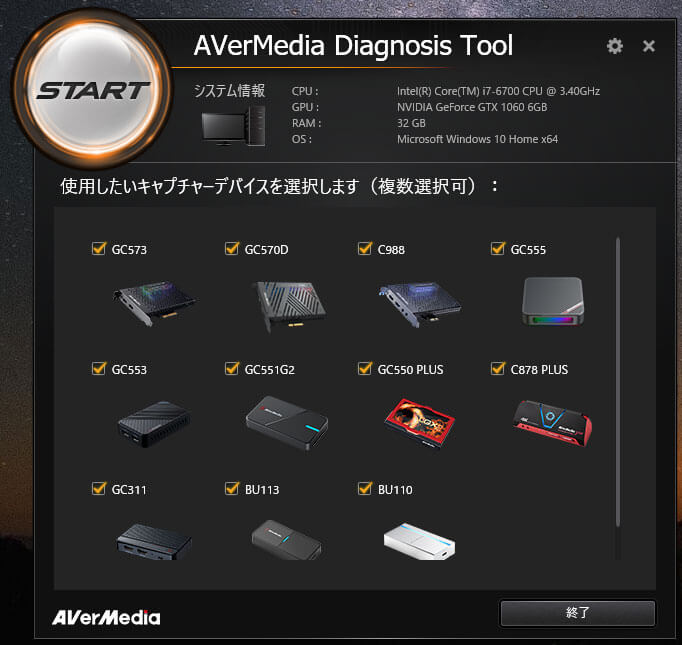
診断ツールを使う
まず「システム情報」に記載の自分のパソコンのスペックを確認します。

次に「使用したいキャプチャーデバイスを選択します」にて目当てのキャプチャーボードにチェックを入れます。
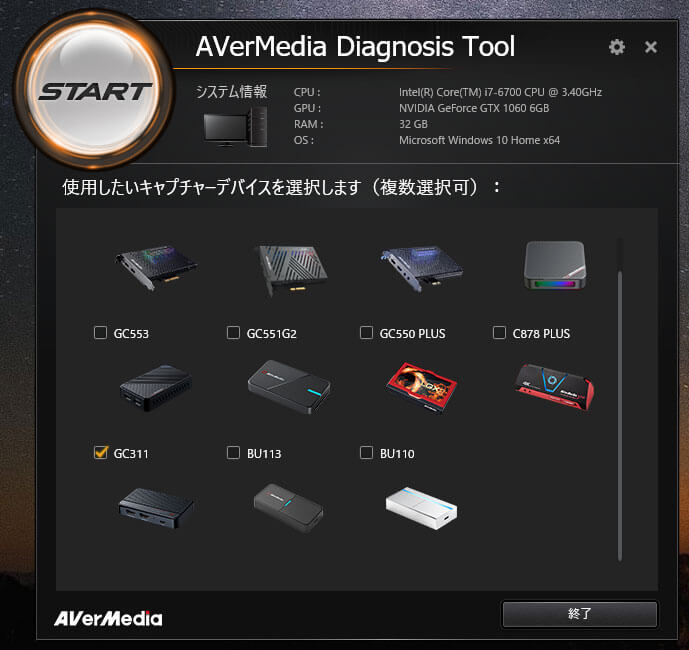
私はGC311のみ選択しました。
選択したらその上の「START」をクリックします。
すると「ご注意」と表示されます。
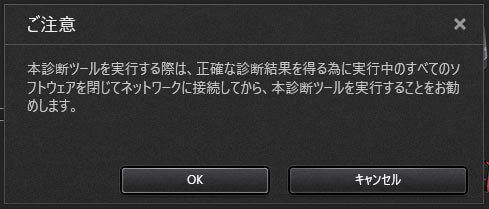
念のためすべてのソフトを閉じてから「OK」をクリックします。
私は他のソフトを開いたまま実行しましたが。
「診断結果」が表示されました。
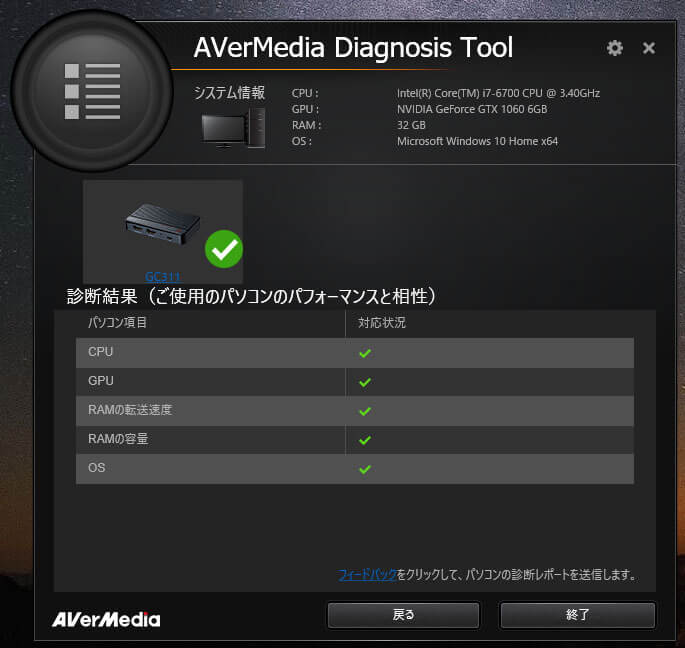
私の場合、すべての項目に緑色のチェックマークが付いていました。
GC311は問題なく使えるようです。
このあと他のソフトをすべて閉じても同じ結果でした。他ソフトと併用していても私のパソコンは余裕があるということかもしれません。
以上でAVerMedia Diagnosis Toolの目的は果たしました。
以後必要なければこのツールは削除しても構いません。
再度ダウンロードすることができます。
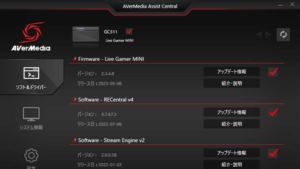
次回はGC311を使うためのファームウェアやソフトなどをダウンロードします。
コメント