先日、原付二種スクーターのアドレス125(DT11A)のブレーキディスクを交換しました。
走行距離約47500kmにしてブレーキディスクの交換は初めてとなります。
今回はその模様をお伝えします。
![](https://koishiken.com/wp-content/uploads/2022/07/koishiken-150x150.jpg)
小石健と申します。YouTubeチャンネルはこちら。
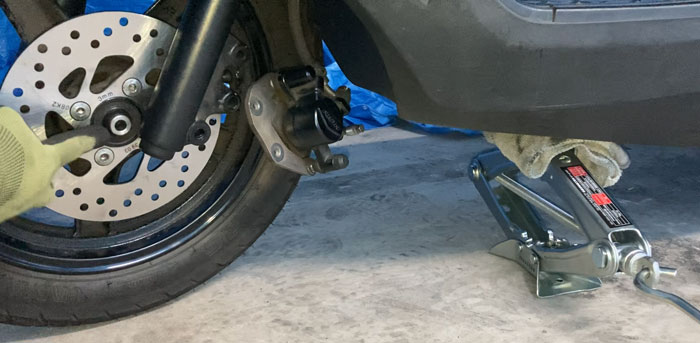
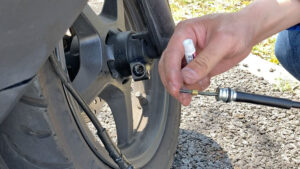
キャリパを取り外す
今回の内容はYouTubeに動画もアップしているので、よければこちらもご覧ください。
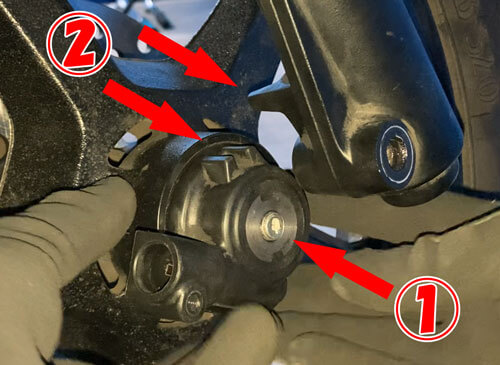
まずキャリパのブレーキパッドマウンティングピン(8mm)(下図①)を少し緩めておきます。
![アドレス125のキャリパのネジ](https://koishiken.com/wp-content/uploads/2023/12/address125-caliper-screw.jpg)
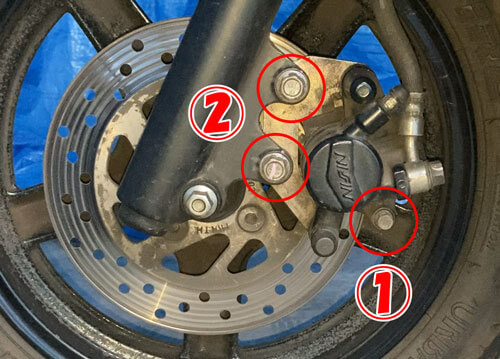
次にブレーキキャリパマウンティングボルト(12mm)2本(上図②)を外します。
ソケットレンチセットは今回も下のものを使用しています。
キャリパを手に持って取り外しますが、私の場合ブレーキパッドがブレーキディスクにがっちりと固定されていて難儀しました。
![](https://koishiken.com/wp-content/uploads/2022/07/koishiken-150x150.jpg)
いきなり固い…
半ば力任せにキャリパを押し上げてからブレーキディスクの外に押し出すようにしたら取り外すことができました。
ブレーキディスクを取り外す
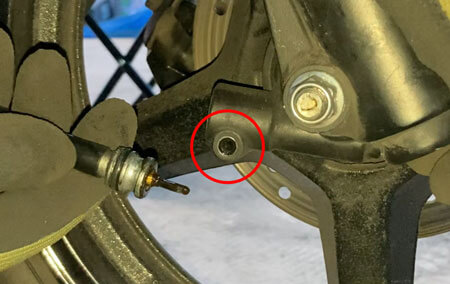
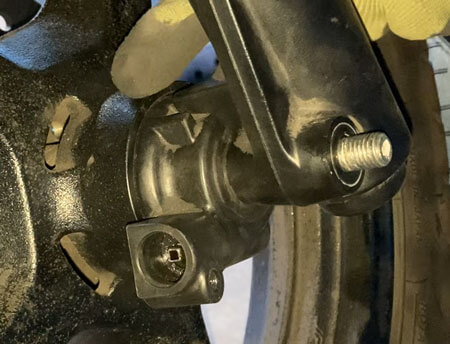
ネジ(下図赤丸部)をプラスドライバーで外し、スピードメーターケーブルを引き抜きます。
![アドレス125のスピードメーターケーブルを引き抜く](https://koishiken.com/wp-content/uploads/2023/12/pull-out-the-speedometer-cable-at-address125.jpg)
その右上のフロントアクスルナット(14mm)をレンチで外します。
![アドレス125のフロントアクスルナットを回す](https://koishiken.com/wp-content/uploads/2023/12/turn-the-front-axle-nut-at-address125.jpg)
フロントアクスルナットは再利用不可のため新品と交換する必要があります。
純正品のナットの品番は「08319-3110A」です。
ちなみにレンチはTONE(トネ)のものを使いました。
ジャッキで前輪を浮かせます。
![アドレス125をジャッキで持ち上げる](https://koishiken.com/wp-content/uploads/2023/12/jack-up-address125.jpg)
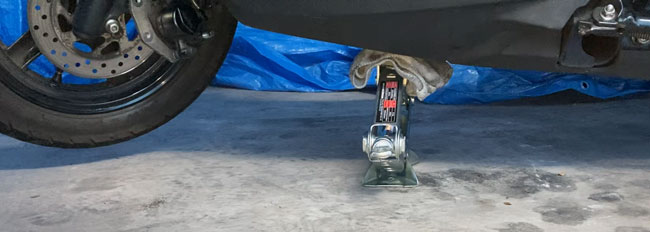
ジャッキの設置箇所は車両の底面に目印があります。
![アドレス125のジャッキの設置位置](https://koishiken.com/wp-content/uploads/2023/12/address125-jack-installation-position.jpg)
フロントアクスルを引き抜きホイールを取り外します。
![アドレス125のフロントアクスルを引き抜く](https://koishiken.com/wp-content/uploads/2023/12/pull-out-the-front-axle-at-address125.jpg)
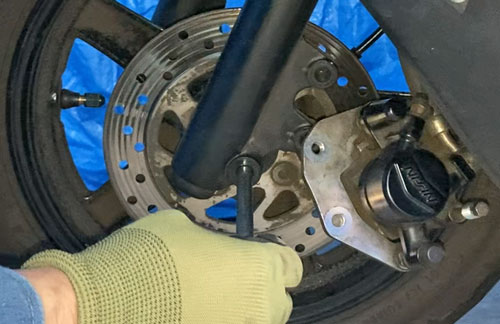
スピードメーターギヤボックスを取り外します。
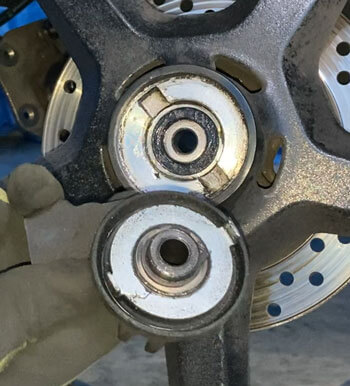
![アドレス125のスピードメーターギヤボックスを外す](https://koishiken.com/wp-content/uploads/2023/12/remove-the-speedometer-gearbox-at-address125.jpg)
スペーサを取り外します。
![アドレス125のフロントホイールのスペーサを外す](https://koishiken.com/wp-content/uploads/2023/12/remove-the-front-wheel-spacer-at-address125.jpg)
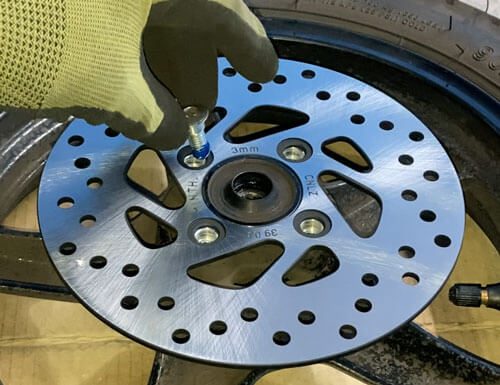
ボルト(6mm)4本を外してブレーキディスクを取り外します。
![アドレス125のブレーキディスクのネジ](https://koishiken.com/wp-content/uploads/2023/12/brake-disc-screw-at-address125.jpg)
私はレンチに接続するタイプのヘキサゴンソケットを使いました。
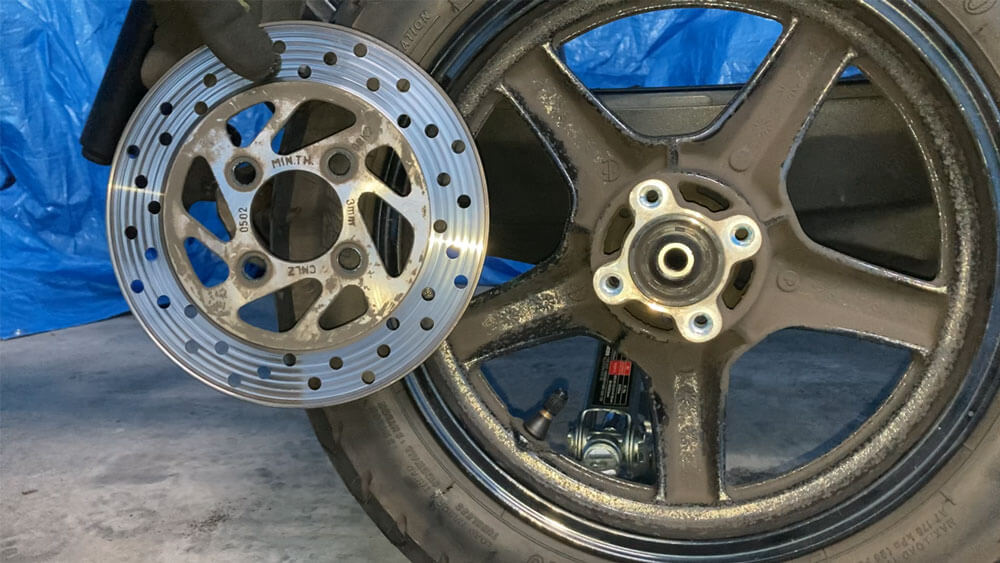
ブレーキディスク新旧比較
約47500km走ったブレーキディスクの状態です。
![アドレス125のブレーキディスクの厚さ](https://koishiken.com/wp-content/uploads/2023/12/address125-brake-disc-thickness.jpg)
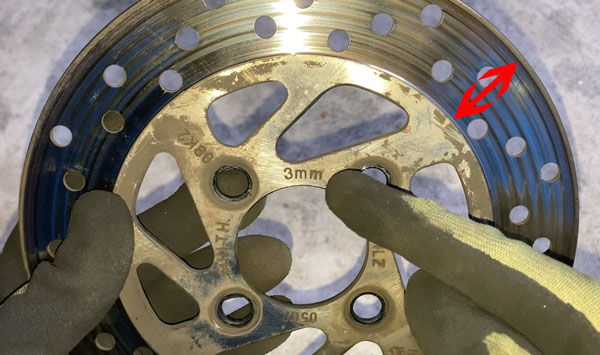
ブレーキパッドが当たる箇所(上図矢印)が削れているのが分かります。
![](https://koishiken.com/wp-content/uploads/2022/07/koishiken-150x150.jpg)
ここの厚さは2.6mmでした。
新たに購入したのは「ATop」という社外品ですが、見た目はほぼ同じです。
![アドレス125のブレーキディスク2枚](https://koishiken.com/wp-content/uploads/2023/12/2-brake-discs-with-address125.jpg)
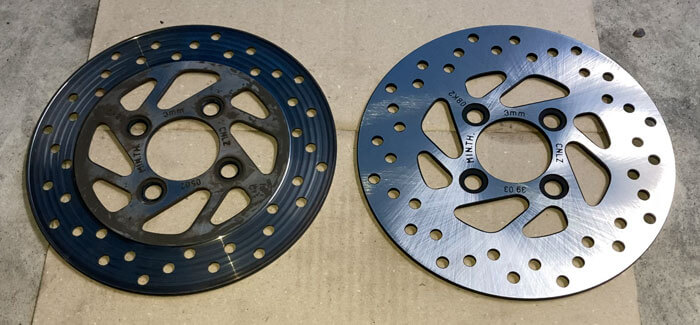
新品の厚さは3.6mmで、比べて見るとその差は歴然です。
ブレーキディスクを取り付ける
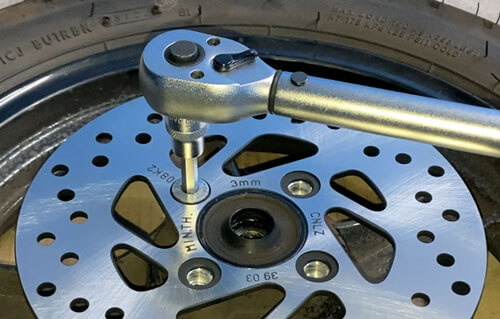
新しいブレーキディスクをホイールにセットして、掃除したボルト4本を取り付けます。
![アドレス125のブレーキディスクのネジにネジロック剤を塗る](https://koishiken.com/wp-content/uploads/2023/12/apply-thread-locking-agent-to-the-brake-disc-screw-at-address125.jpg)
純正品は高価だったため、私はLOCTITE(ロックタイト)の243番を購入しました。
中強度の取り外し可能タイプです。
適量がよく分からないので、とりあえずネジの半分ほどに塗りました。
10分ほどで固化するとのことで、速やかに締め付けます。
![アドレス125のブレーキディスクのネジを締める](https://koishiken.com/wp-content/uploads/2023/12/tighten-the-brake-disc-screw-at-address125.jpg)
フロントホイールを取り付ける
その他各パーツの掃除を済ませたら、スピードメーターギヤボックスにグリスを塗ります。
![アドレス125のグリスを塗ったスピードメーターギヤボックス](https://koishiken.com/wp-content/uploads/2023/12/greased-speedometer-gearbox-with-address125.jpg)
ここはマニュアル指定の「スーパーグリースA」を用いました。
スペーサを取り付けてホイールをセットします。
![アドレス125のフロントホイールの穴](https://koishiken.com/wp-content/uploads/2023/12/address125-front-wheel-hole.jpg)
ホイールとフロントフォークの穴を合わせてフロントアクスルを挿入します。
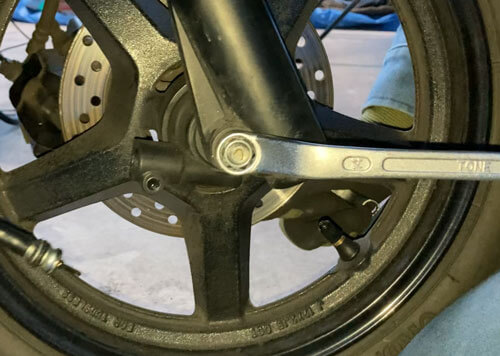
スピードメーターギヤボックスを取り付けてフロントアクスルをギリギリまで通します(下図①)。
![アドレス125のスピードメーターギヤボックスの穴](https://koishiken.com/wp-content/uploads/2023/12/speedometer-gearbox-hole-at-address125.jpg)
溝とフロントフォークのツメを合わせて(上図②)、フロントアクスルをフロントフォークの穴に通します。
![アドレス125のフロントアクスルを通す](https://koishiken.com/wp-content/uploads/2023/12/pass-through-the-front-axle-of-address125.jpg)
ジャッキを外して新品のフロントアクスルナットを42N・mで締め付けます。
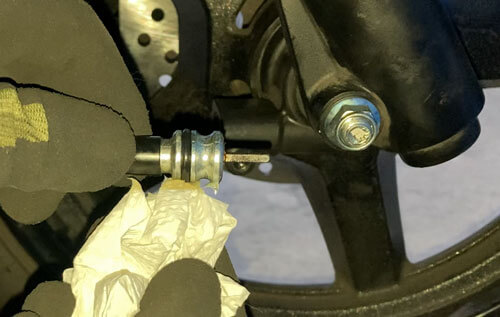
![アドレス125のスピードメーターケーブルにグリスを塗る](https://koishiken.com/wp-content/uploads/2023/12/apply-grease-to-the-speedometer-cable-at-address125.jpg)
Oリング部分にグリスを塗ってスピードメーターケーブルを取り付けます。
スピードメーターケーブルの交換については下の記事をご参照ください。
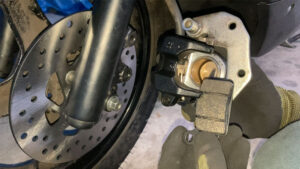
キャリパを取り付けて交換完了
![アドレス125のブレーディスク交換](https://koishiken.com/wp-content/uploads/2023/12/address125-brake-disc-replacement.jpg)
あとはキャリパを取り付けたらブレーディスクの交換は完了です。
![](https://koishiken.com/wp-content/uploads/2022/07/koishiken-150x150.jpg)
次回はブレーキパッドを交換します。
キャリパの取り付けは次回の記事をご参照ください。
コメント
コメント一覧 (2件)
こんばんは!再使用不可のナットって品番64147-33G10だと思うのですがどこで購入されました?どこにも売ってなくて(;’∀’)
コメントありがとうございます。
記事にも記載してありますが、アドレス125(DT11A)のフロントアクスルナットの品番は「08319-3110A」のはずだと思います。
パーツカタログもご参照ください。
https://www1.suzuki.co.jp/motor/support/parts_catalog_manage/files/UU125M0_N00.pdf
ナットは「ウェビック」というサイトで購入しました。
https://www.webike.net/
税込3000円以上の購入で送料が無料になるので、まとめ買いがお得かと思います。